How to Retrieve Data from Google Vault? The Complete Guide


Summary: This guide has the best solution for users if they want to learn how to retrieve data from Google Vault in the local system. There are two methods to get this task done & usually. One is Manual & the other one is Automated. Here, both solutions are mentioned. Users can select them as per their preferences.
We all are aware of the fact that Google Vault is quite a nice add-on to Google apps. It helps users to keep their crucial data files from getting deleted after the retention period. It acts as a central storage system for emails and documents. But when there is a need to retrieve data, then you need to execute the Google Vault Export to PST or MBOX task. Let’s know how to do so.
Table of Contents
Know How to Retrieve Data from Google Vault Manually
Basically, users need to perform a few steps if they want to retrieve & then export the data from their Google Vault. Follow the below steps to get your data back using the Google Vault application.
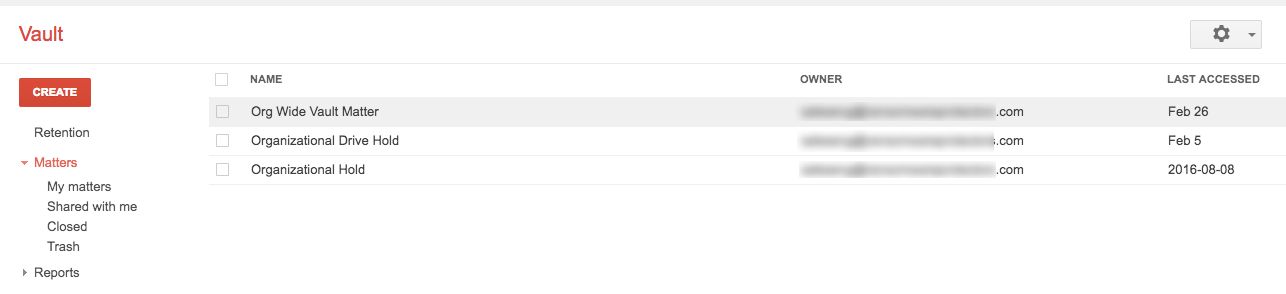
Step 1: Create A Matter in Google Vault
First of all, users need to log in & then create a matter in Google Vault. After creating a Matter, simply search from the bar on the left side. This way, users can navigate to the search options. Set your search options here to learn how to retrieve data from Google Vault in the system.
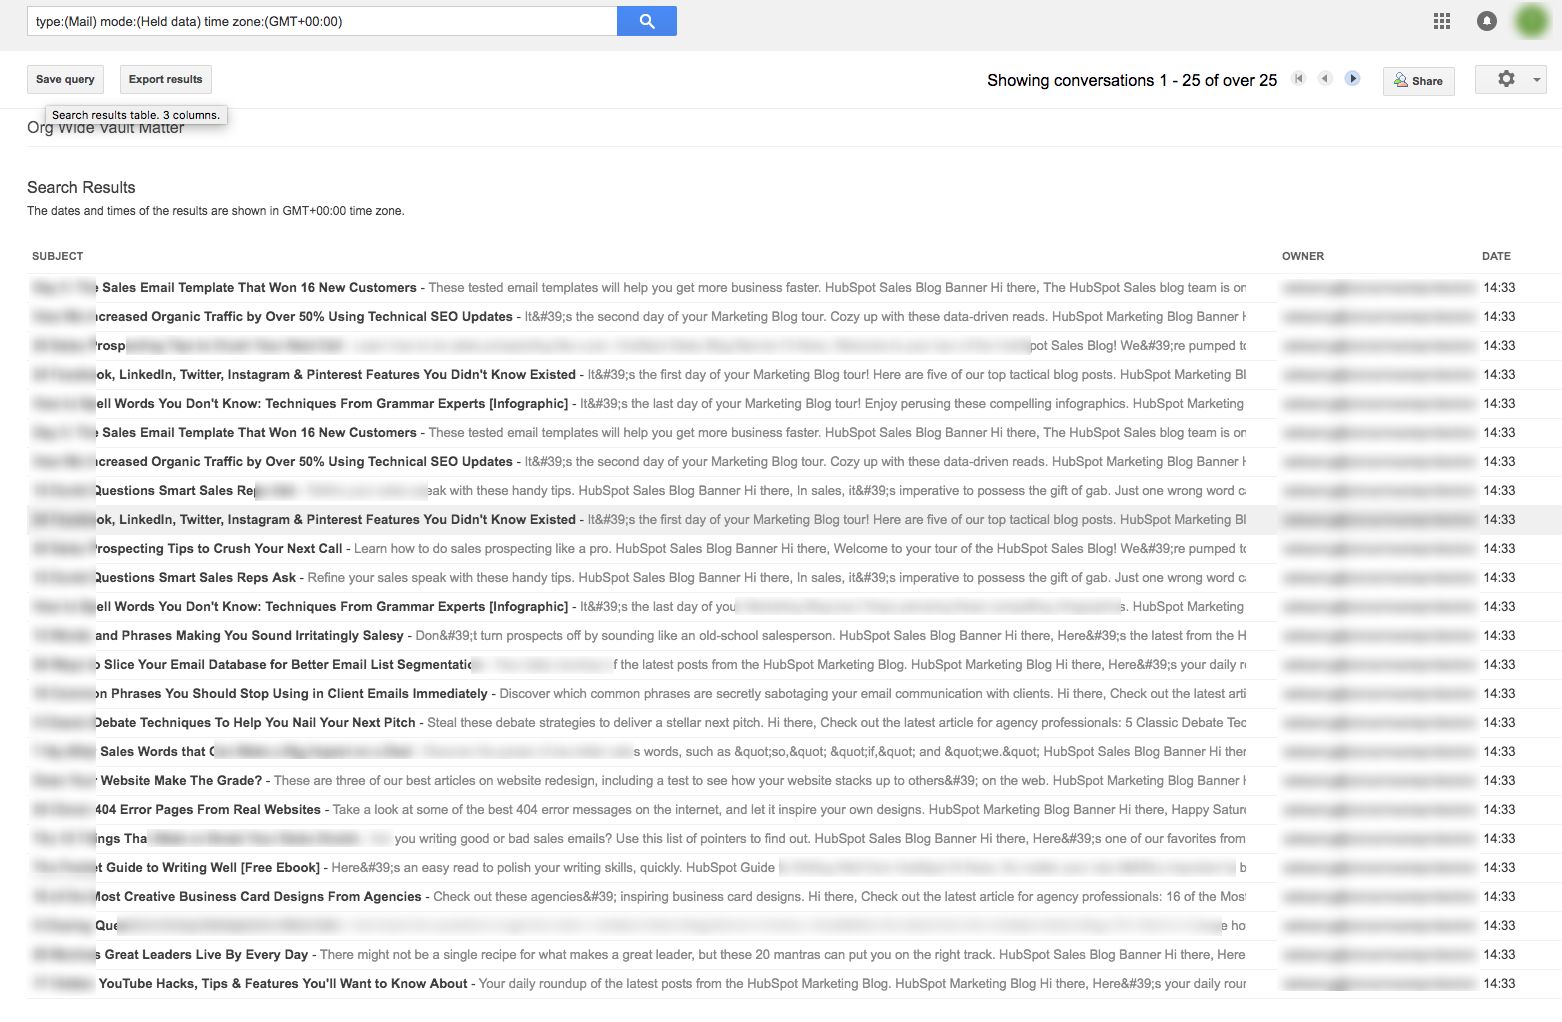
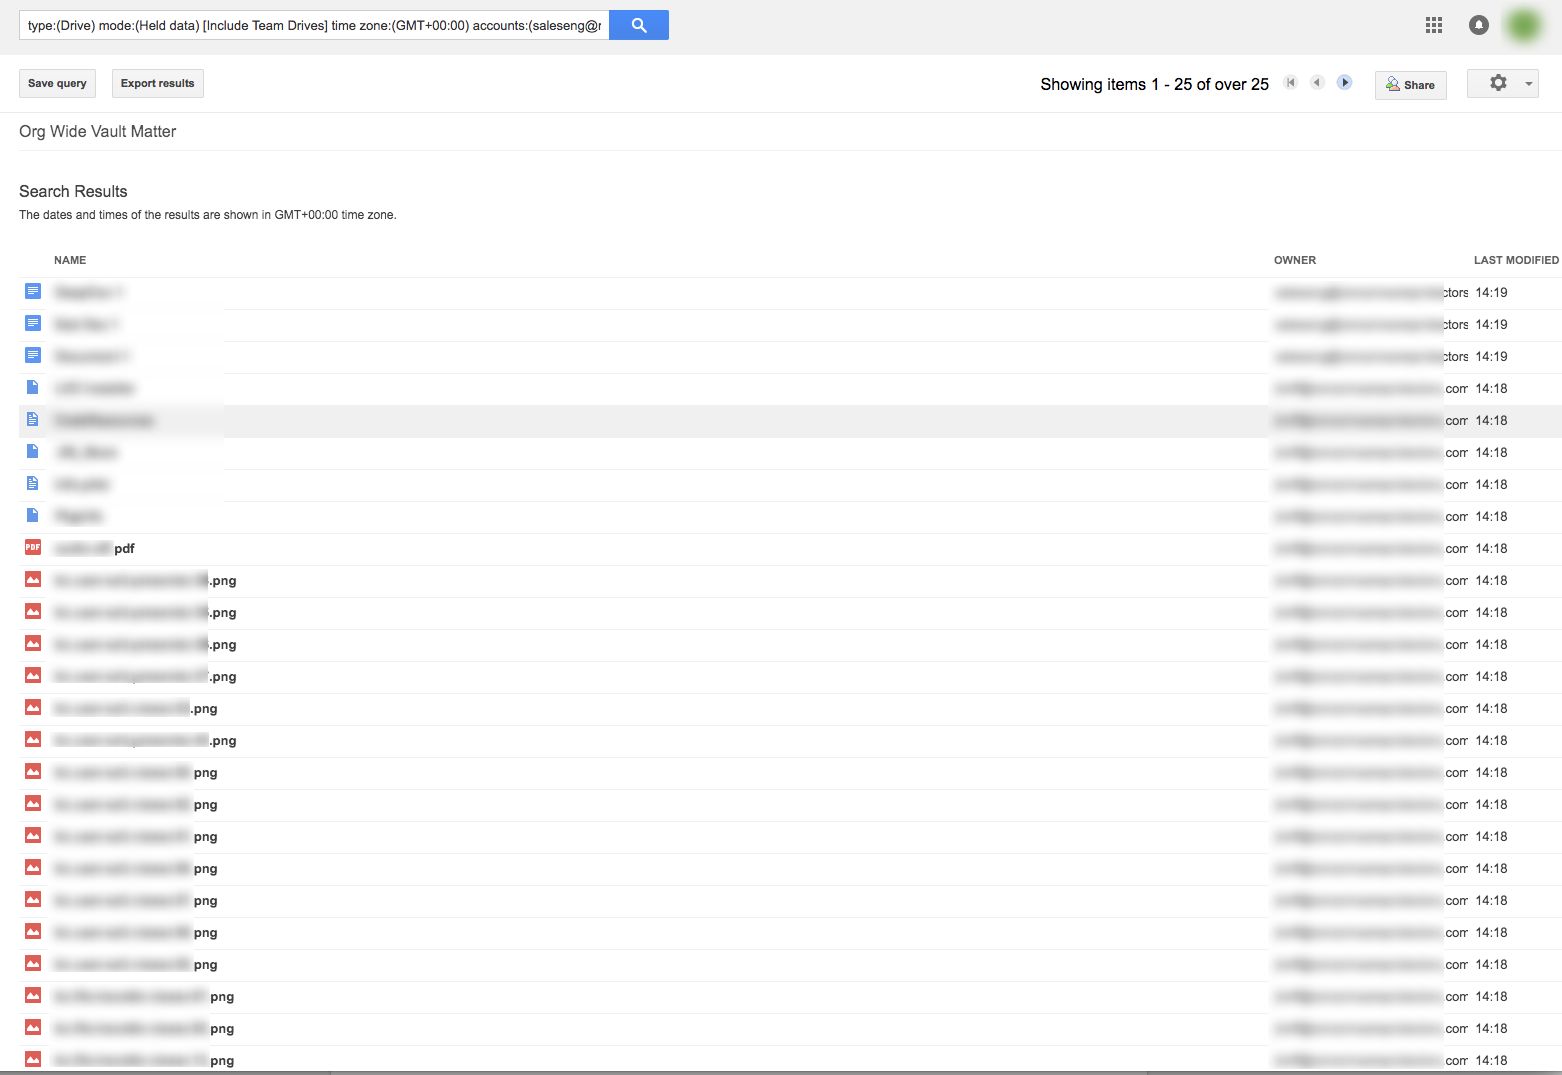
Step 2: Run Your Search Query & Select the Files
After setting the options in the previous step, simply run your query. Navigation is a tough task here as the application does not maintain metadata for emails & Google Drive. Look how the email & Drive results are shown:
Mail Results:
Drive Results:
Step 3: Export the Files You Need
After getting the desired data files, simply go for the export process. It provides users with two options for exporting files. Users can either export the data in MBOX or PST format. For Drive file data, users will get a ZIP file having all the data.
Note:- Make sure to download the data within 15 days of starting the process.
Drawbacks of Using the Manual Method
There are plenty of drawbacks present for users if they are opting for the manual method. These drawbacks often irritate users & sometimes even become the reason for their failure.
- File Size Limitation
Google Vault only allows users to export data files up to 20GB in MBOX & 1GB in PST format. This is one of the major drawbacks of this operation.
- No Preview of Files
Users can not preview the data files. Moreover, they can’t look at all the data stored in it without searching for them. To find any data in Google Vault, users need to search for it using the file name.
- No Bulk Export Task
There is no feature for users to export bulk files in multiple export processes. Google Vault only allows users to run 20 Export tasks simultaneously. For large enterprises, this is a very big reason for the lack of efficiency. - Lack of New Features
There are no new features present in this service. No date filter, category filter, preview option, etc. Sometimes Google Vault Export Stuck at 95 too. Google always provides a solution that’s easy to use. However, it made this solution quite retro which can be disappointing.
Also Read: How to migrate Google Vault to Office 365 without hassle?
How to Retrieve Data from Google Vault Automatically?
Now, it’s time for us to learn the best-in-class automated solution. Top IT experts also suggest users go for such automated solutions. Here, users are just required to install an advanced Google Vault Downloader tool.
Follow the below steps after installing the software in your system. These simple five steps are enough for users to get their desired data files without any kind of hassles.
Step-1. Download and Launch the Tool. Choose Outlook (PST) or MBOX format for the destination.

Step-2. Select the Categories like Email or/and the Documents. Apply the Date filter as needed.

Step-3. Log in using the admin credentials to proceed from here.

Step-4. Provide the path for the resulting file.

Step 5. Fetch the users into the tool by using the several options.

Step 6. Now just Click on the Start Download button to finish.

Users often download the MBOX files from Google Vault manually or by the tool. Later they want to convert them to Outlook PST. Therefore, we can say that users must use another advanced MBOX to PST Converter tool without hassles.
In A Nutshell
Now, at the end of this article, We can address that this task is quite tough for new users. However, that’s only till users are unaware of the automated method. The manual method is quite slow as well as outdated for users to get the desired solution in time. On the other hand, learning how to retrieve data from Google Vault using the automated solution is the best solution for users.
In addition, the advanced features present in the tool allow selective export with utmost safety. IT experts, MVPs, and trusted users, praise this utility for its potential. You can also trust this as it offers a demo version as well.
Frequently Asked Questions
Q1. Can we download all the data from the Google Vault into PST format?
Ans – Yes, there are two different options available to download the data: PST and MBOX.
Q2. Can we run multiple export tasks on the Google Vault?
Ans – No, you cannot run more than 20 tasks simultaneously.
Q3. How to retrieve data from Google Vault without any errors?
Ans – If you want to retrieve Google Vault data locally, then you can use the above-mentioned automated tool using the simple steps:-
- Step 1. Download and Run the tool.
- Step 2. Choose Source and Destination platforms.
- Step 3. Select the workload items.
- Step 4. Provide Source and Destination details.
- Step 5. Load the users and start Downloading data.
