How to Backup Outlook Emails to External Hard Drive in Secure Manner ?


It is very important to backup your Outlook data from time to time for saving it from any accidental loss like hardware failure, human error, software failure, virus attacks, etc. Moreover, the most interesting thing about Outlook is that it provides the easiest way to backup data. If you know the process of backing up your data, you can easily recover deleted emails from Outlook. In order to understand this process , go through the pictorial representation of the steps. Let us see how users can backup Outlook emails to hard drive to avoid data loss.
Different Ways to Backup Outlook Emails to Hard Drive
Over time, users came up with various solutions to backup Outlook 213 emails in hard drive. In this blog, reader will learn both the traditional and the sophisticated Methods to Outlook email backup.
Learn How to Download Outlook Emails to Hard Disk with Native Options
MS Outlook users can apply the features of this application to save email messages in PST format on the local system. Follow the steps mentioned here.
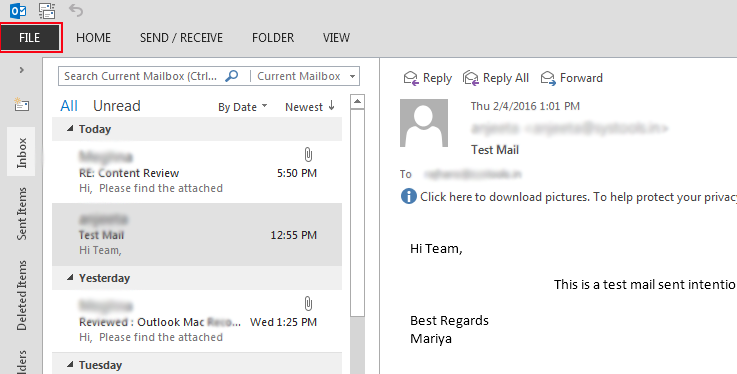
1. First, open MS Outlook 2013. Users can see the interface as shown in fig 1. Click on the “File” tab visible on the top right corner.
2. After clicking on file tab, you will see the interface as shown in fig 2. You can see info tab is already selected in which your account information is displayed with some other functionality. Here you will have your social network settings, cleanup tool for mailbox, etc. However, right now these functions are not needed.
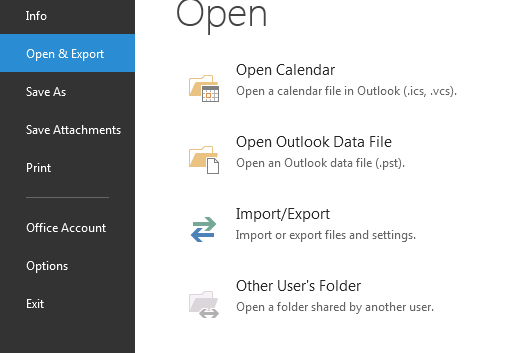
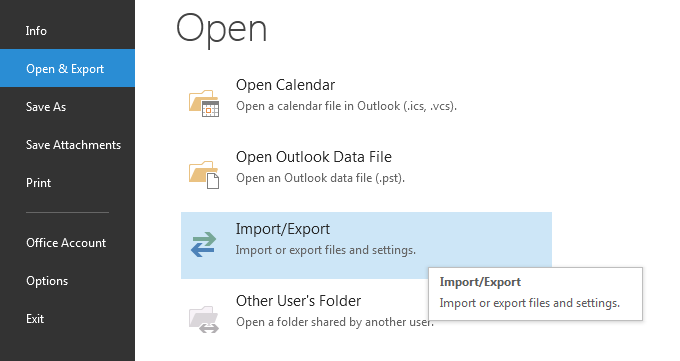
3. Now, click on “Open & Export” tab as shown in fig 3. Here, you can see four different options. However, right now you just need to click on “Import & Export” as shown in fig 4. Other options are not for exporting Outlook data; they are meant for importing items into Outlook.
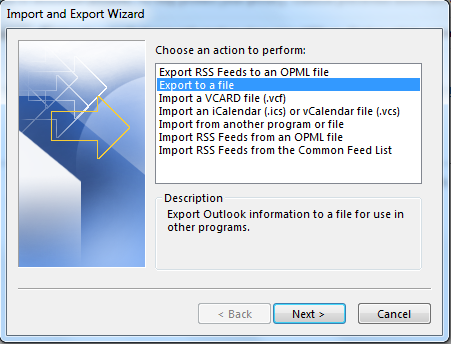
4. After clicking on Import / Export an “Import and Export Wizard” will open. Where you can see several options for importing as well as exporting data to and from Outlook but you just need to select “Export to a file” and click on Next button as shown in fig 5.
5. Then, there will be two different options to backup Outlook emails. The first one is Comma Separated Values in which you can export only one folder in more than one file type. But if you want to go for a simple method then just select “Outlook Data File (.pst)” and click on Next button as visible in fig 6.

6. At this point, users have to decide the items they need to backup. If you want to backup only Inbox then you can select only that. But if you want to backup whole data of Outlook then you need to select the root folder and click on Next button.
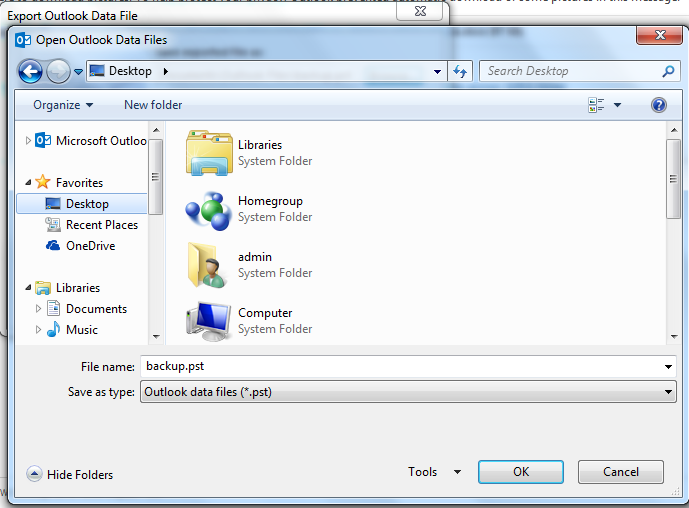
7. After that, you need to select the path for the backup file. You can select it by clicking on “Browse” button as shown in fig 8. Then a new window will open in which you need to select the specific path where you want to backup your data. In this example, we have selected Desktop as you can see in fig 9 and then clicked on OK button.
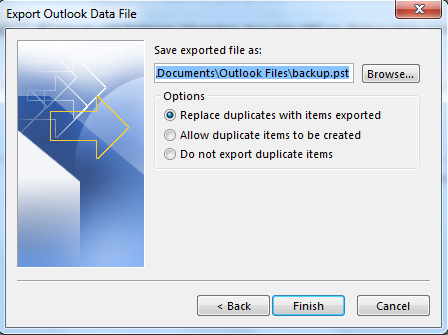
8. Now you can see the selected location of backup is Desktop and a new file backup.pst will be created. After that, select Replace Duplicates with Items Exported radio button to replace the file, which is already present with the same name, and click on Finish button as shown in fig 10. This radio button selection is important if you want to backup daily.

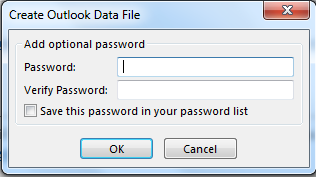
9. Now, you will be asked to create a new password for your backup file as shown in fig 11. This is an optional field but in case, if your computer is used by any other user also then you can go for it. But here, we are leaving it blank and just clicked on OK button.
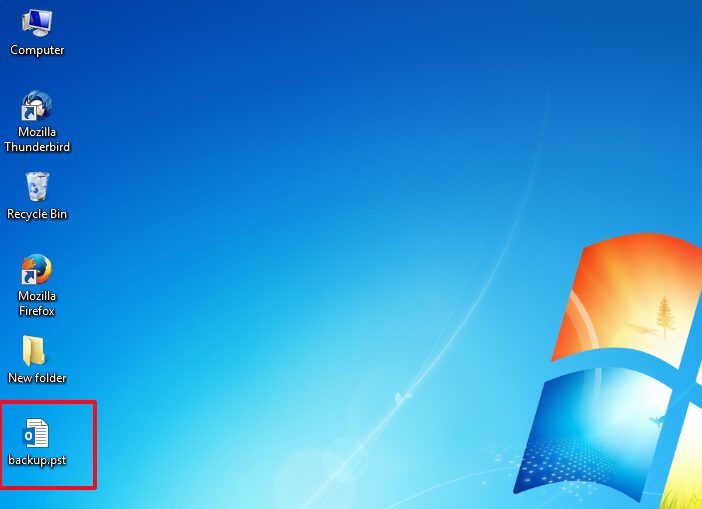
10. That’s it. Thus users can backup Outlook emails to hard drive successfully. Users can find the data at the selected backup location. In this example, the Desktop is the chosen location for backup Outlook data, as users can see in fig 12. A backup PST file is there on the Desktop.
Limitations of Saving Outlook Emails in HDD Manually
Before some proceeds to apply the manual method, it is better to be aware of its drawbacks.
- This manual method is lengthy and involves a number of steps.
- To perform this method, MS Outlook should be fully functional.
- To access the backed up PST file, users will need Outlook.
Perfect Method for Saving Emails from Outlook to Hard Drive
Due to the limitations of the traditional technique, most of the users choose a standalone solution that can backup Outlook emails to hard drive in a globally standard file format. One such software is to convert PST to PDF. This application can effortlessly convert Outlook email to PDF. As a result, users can open the backed up data on any computer and even share it with others. Download the tool now and start backing up the emails.
1.Open the software and click on Add Files button to add the PST file.

2. Preview the emails and click on Export button.

3. Select the folder that users have to backup from the left panel and apply Advanced Settings.

4. Finally, choose file saving location from hard drive and click on Export to start backup Outlook emails.

Conclusion
In this blog, we have discussed the method to backup Outlook emails to hard drive. From the methods mentioned here, users can choose any method they want. The only difference between these two methods is when users backup emails in PST format, they will need MS Outlook to open the data, but when the email backup format is PDF, there is no software dependency. So, whatever method one chooses, they should keep this point in mind.
