How to Migrate Computers from One Domain to Another (PowerShell)


In this tutorial, you’ll learn how to migrate computers from one domain to another using PowerShell.
We will provide you with step by step instructions to add your computer to the new domain using 3 different PowerShell solutions. There is another adequate professional tool to get the job done in an easy manner.
Let’s get started.
4 Methods to Migrate Computers from One Domain to Another
During an Active Directory migration, migrating computers involves two main aspects. Firstly, there’s the migration of Active Directory objects, including user and group objects. Secondly, there’s the task of disjoining the Windows computer from its current domain and joining it to the new domain, which requires modifying the workstation or server OS.
Method 1 – Simplest Way to Move a Computer Between Domains
Manually using the GUI to change the domain or workgroup association of a computer in the system property settings is a simple way to move a single computer between domains.
But it becomes impractical for migration projects involving multiple computers. Such projects require a more efficient approach that allows simultaneous migration of many computers remotely, without the need for logging in on each machine.
Method 2 – Migrate Computers from One Domain to Another using PowerShell
Migrating computers from one domain to another using PowerShell involves a series of essential steps. The procedure primarily involves disjoining the computer from its current domain, joining it to the desired target domain, and updating any necessary configurations.
As you proceed with the given steps, exercise caution, as they are related to the domain membership. It is imperative to conduct thorough testing on a small subset of computers before executing the migration process for all computers. Additionally, ensure that you have adequate backups and a rollback plan in place to address any potential issues during the migration process.
- Make sure you have admin privileges on both the source and target domains.
- Begin by setting up the new Active Directory domain (target domain) and ensuring that it is fully operational and reachable from the computers you intend to migrate.
- On the computer from which you plan to execute the migration, ensure that you have installed the Remote Server Administration Tools (RSAT). These tools encompass the necessary PowerShell modules for managing Active Directory.
- Establish a trust relationship between the source and target domains if it has not already been established. This enables a seamless migration process.
- After that, launch PowerShell with administrative privileges on the computer that you intend to migrate.
- Firstly, disjoin the computer from its current domain, which will require rebooting the system.
Remove-Computer -UnjoinDomainCredential Domain01\Admin01 –Restart
Please replace `Domain01` with the name of the source domain and `Admin01` with a domain administrator account that possesses the required permissions to perform the unjoining process. - Proceed by joining the computer to the target domain using a domain administrator account from the target domain.
Add-Computer -DomainName Domain02 -Credential Domain02\Admin02 –Restart
In this command, replace `Domain02` with the name of the target domain, and `Admin02` with a domain administrator account belonging to the target domain. - Once the computer reboots and successfully joins the target domain, log in with a user account from the target domain to confirm the migration’s success.
- If any specific configurations, settings, or software need updating due to the domain change, you may need to script additional actions to accommodate those changes.
- Repeat the entire process for each computer that you wish to migrate to the target domain.
Method 3 – More Descriptive Way to Move Servers Between Domains
This method is geared towards moving multiple thousands of servers to the new domain. But, at the end of the day, we are using Powershell to migrate computers from one domain to another.
The idea behind this method:
To simplify the domain migration task for administrators, a remote service utility was developed to enable bulk migration of servers to the new domain. Server administrators have the flexibility to decide which servers to migrate and when to perform the migration.
A crucial requirement was to avoid installing QMM agents on the servers, which could potentially disrupt running applications.
Here are the steps taken to address the situation:
- Scripting Solution: To achieve maximum flexibility, we opted for the “add-computer” PowerShell cmdlet as the foundation of our script. The final script, totaling 320 lines, combines multiple modifications needed during the server move process.
- Configuration Files: Server owners are required to place a configuration file on a shared location. The script server periodically scans this shared location for new configuration files and processes the server names accordingly.
The main function in the script revolves around using the “add-computer” commandlet to disjoin/join the computer to the new domain, making it the core aspect of the migration process. Other functions in the script support various functionalities related to the migration.
This approach ensures a seamless and straightforward domain migration for administrators while keeping the servers intact and free from any disruptive agents.
function domain_move($compacc,$fqdn) {
$username_joinTarget=”TARGETDOMAIN\SERVICEACCOUNT”
$password_joinTarget=cat“d:\scripts\server_move\JoinTarget.txt”|convertto-securestring
$cred_JoinTarget=new-object -typename System.Management.Automation.PSCredential –argumentlist $username_joinTarget,$password_joinTarget
$username_unjoinSource=”SOURCEDOMAIN\SERVICEACCOUNT”
$password_unjoinSource=cat“d:\scripts\server_move\UnjoinSource.txt”|convertto-securestring
$cred_UnjoinSource=new-object -typename System.Management.Automation.PSCredential -argumentlist $username_unjoinSource,$password_unjoinSource
$Error.clear
Try {Add-Computer -ComputerName $compacc -DomainName $TARGETDOMAIN -Credential $cred_JoinTarget -UnjoinDomainCredential $cred_UnJoinSource -Server $TargetDC -PassThru -Verbose}
Catch {return $false}
Start-Sleep -Seconds 10
Restart-Computer -ComputerName $fqdn
return $true}
Source: Migration blog
In the main part of the script, we have two variables called $compacc and $fqdn, which are passed as parameters when calling the function.
$compacc holds the “samaccountname” of the computer that needs to be migrated, while $fqdn contains the “fully qualified domain name” of the same computer.
The script requires encrypted passwords stored in text files, which are located in the same directory as the executable or ps1 script.
Method 4 – Professional Tool to Move Computers from One Domain to Another
AD Migration tool makes it easy to migrate computers between domains. You can register multiple domains inside the application and move multiple AD objects without any issues. It supports the migration of the following objects:
- Computer
- User
- Printer
- Group
- Shared folder
- Contact
This tool also helps in transferring Active Directory to another server.
You can use the demo version to migrate two objects between the domains.
Download for Windows Purchase Now
Before migrating computers from one domain to another, let us take a look at the application pre-requisites:
- Firstly, ensure that Microsoft .NET Framework v4.6.1 is installed.
- Make sure that DNS settings are present on all DCs (Source and destination).
- Create Trust Relationships between the domains.
- Configure the DNS suffix Search List.
- Put the Admin Account in the administrator group.
- Ensure that the AD server is in the same network.
- Verify that the destination AD has the same schema as the source domain, including Schema Classes, Custom/Standard/In-Built attributes.
- Check that the provided User has Active Directory access.
- Confirm that the Active Directory server is in the same network.
- Ensure that the destination Active Directory machine has the same Schema Classes and Attributes (Standard, Custom, and In-Built) as the source.
- Ensure that the antivirus doesn’t block the application.
- Disable the firewall on both the Source and destination machines.
Steps to Move Computers Between Domains:
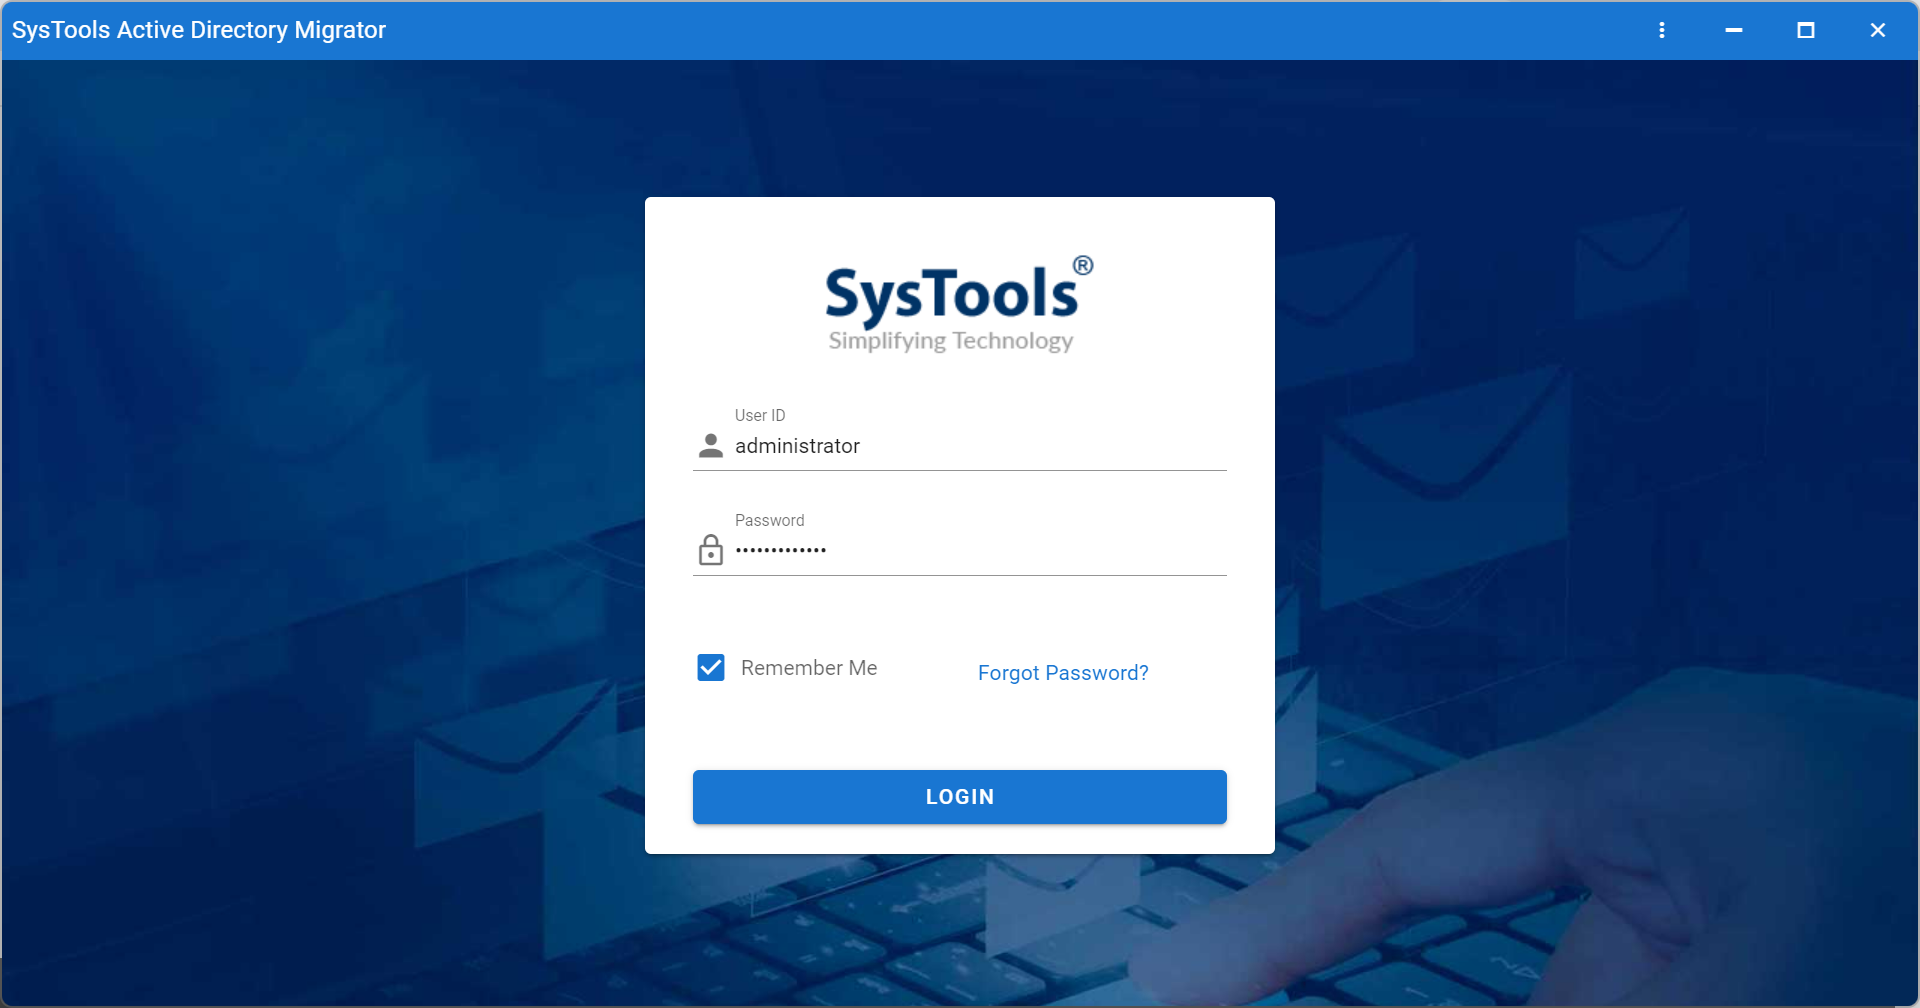
- Firstly, launch the tool. By default, use “administrator” as the username and password, and users can change it after logging in.
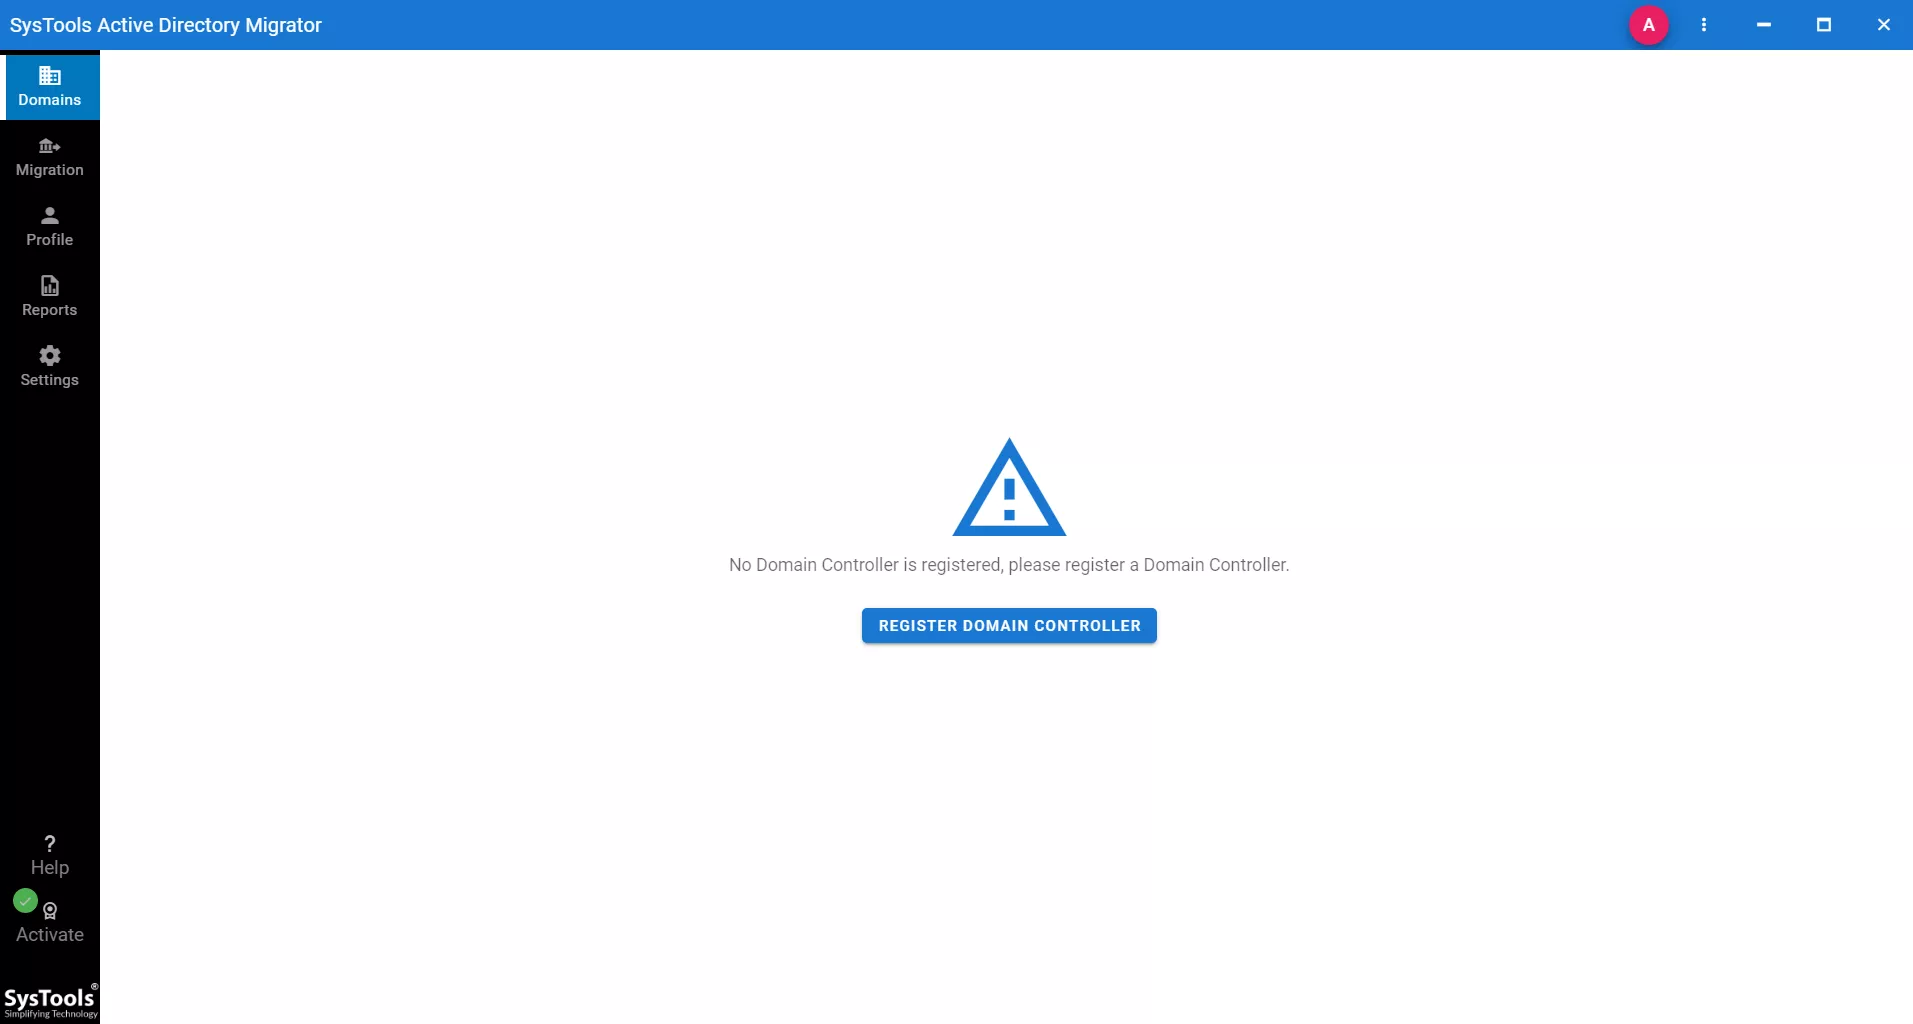
- After successful login, you will see the Workload Screen. Click on the “Register Domain Controller” button.
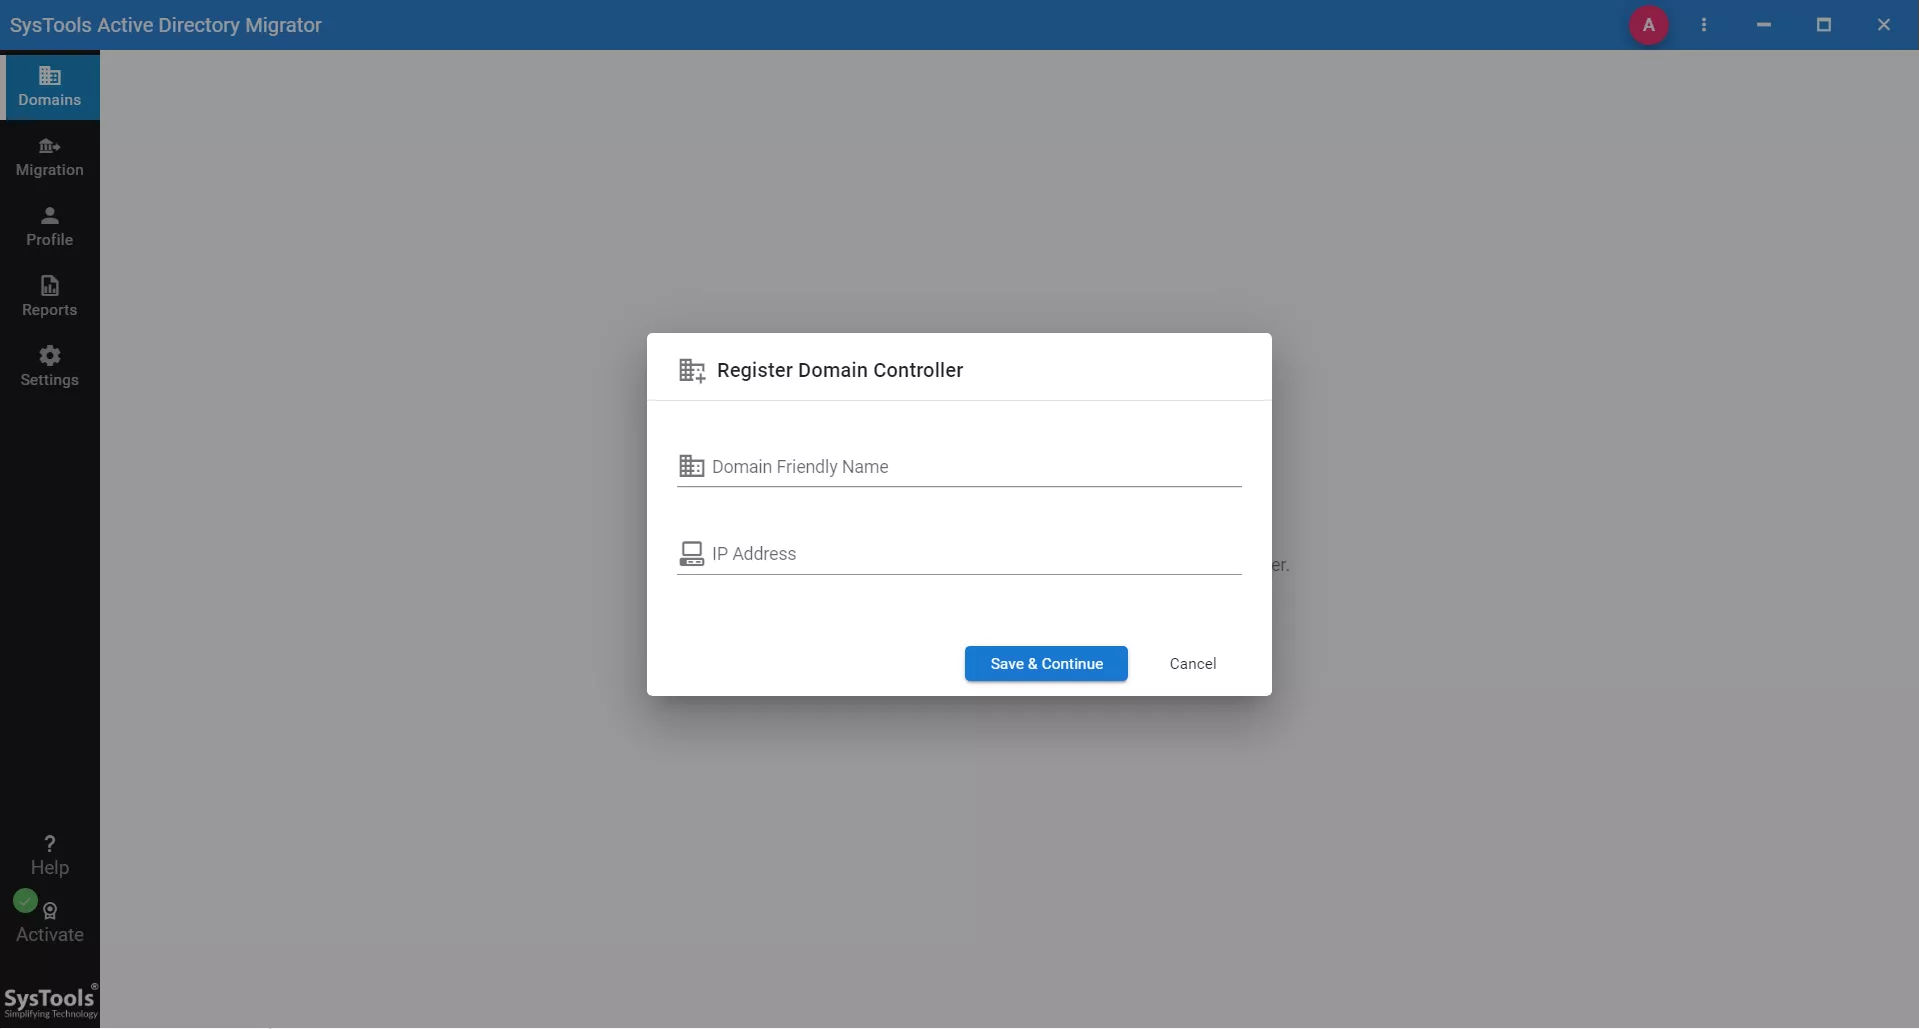
- Add the Domain Friendly Name and IP Address for a specific domain. Click “Save & Continue“.
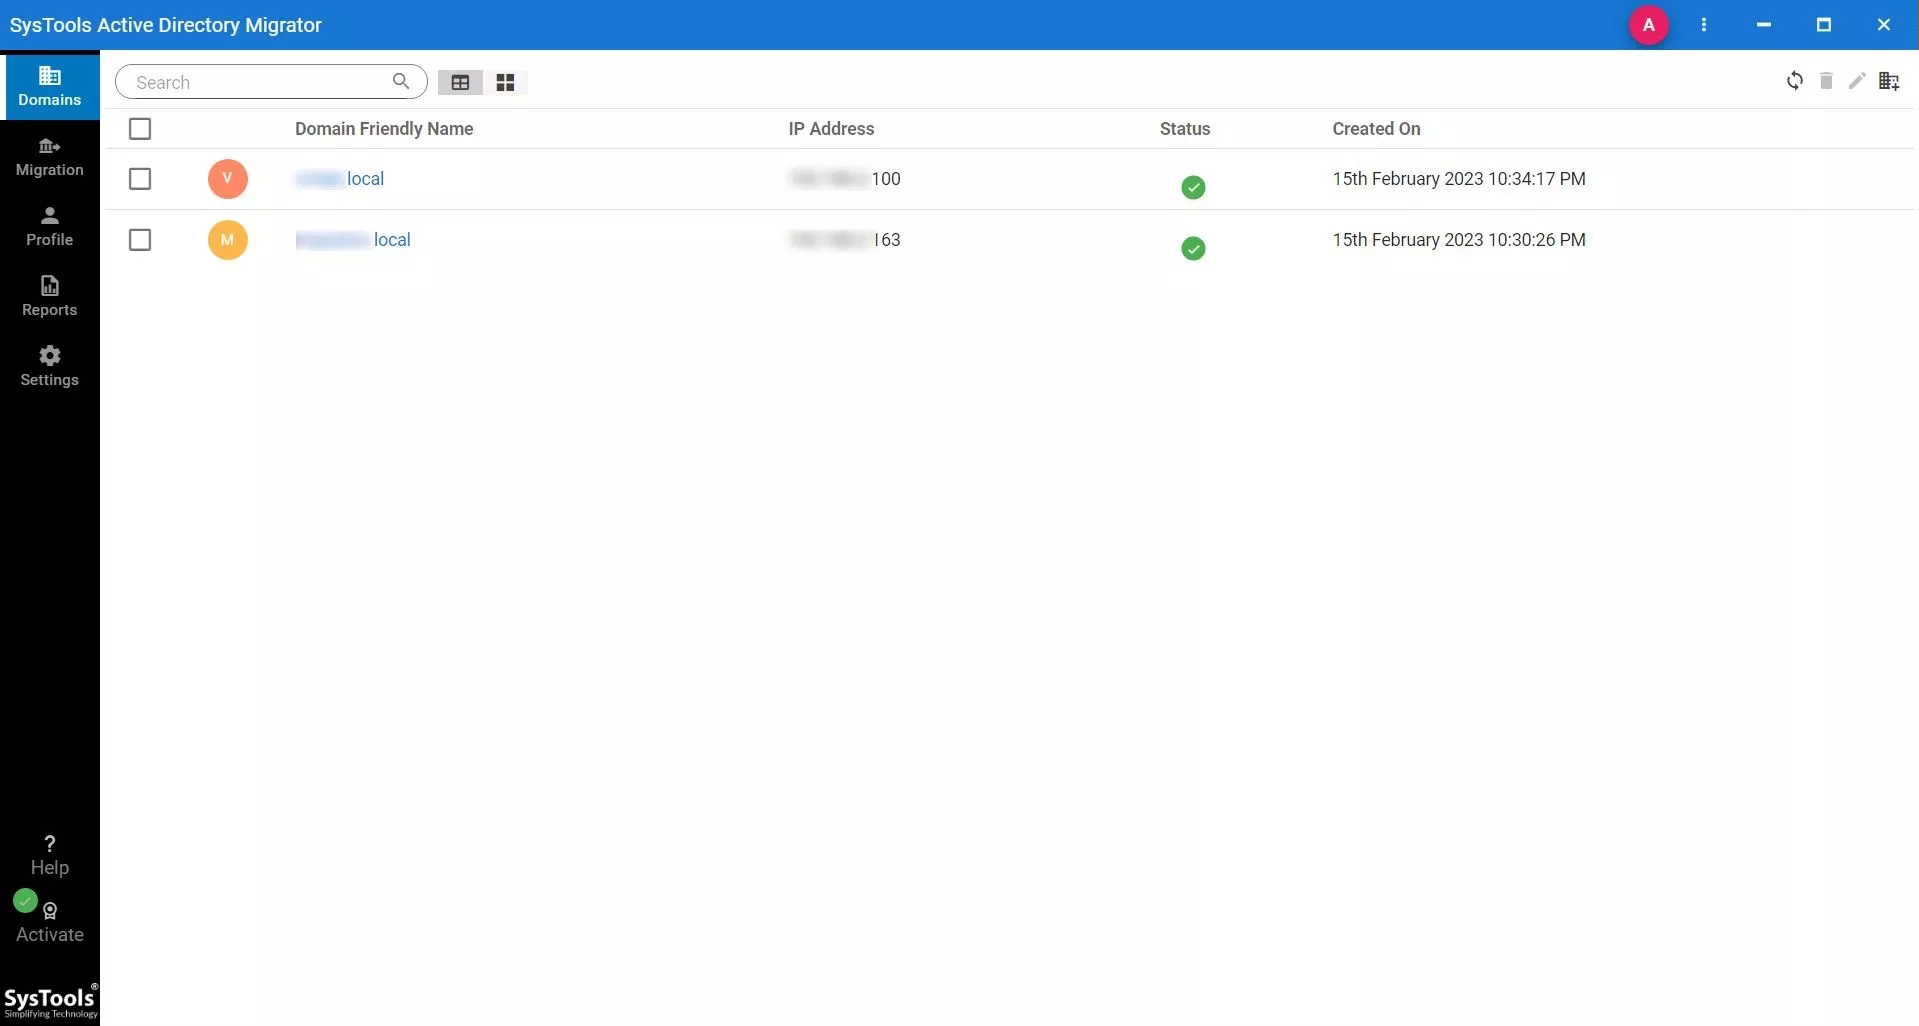
- Since we need to migrate computers from one domain to another, add another Domain Friendly Name and IP Address for the second domain.
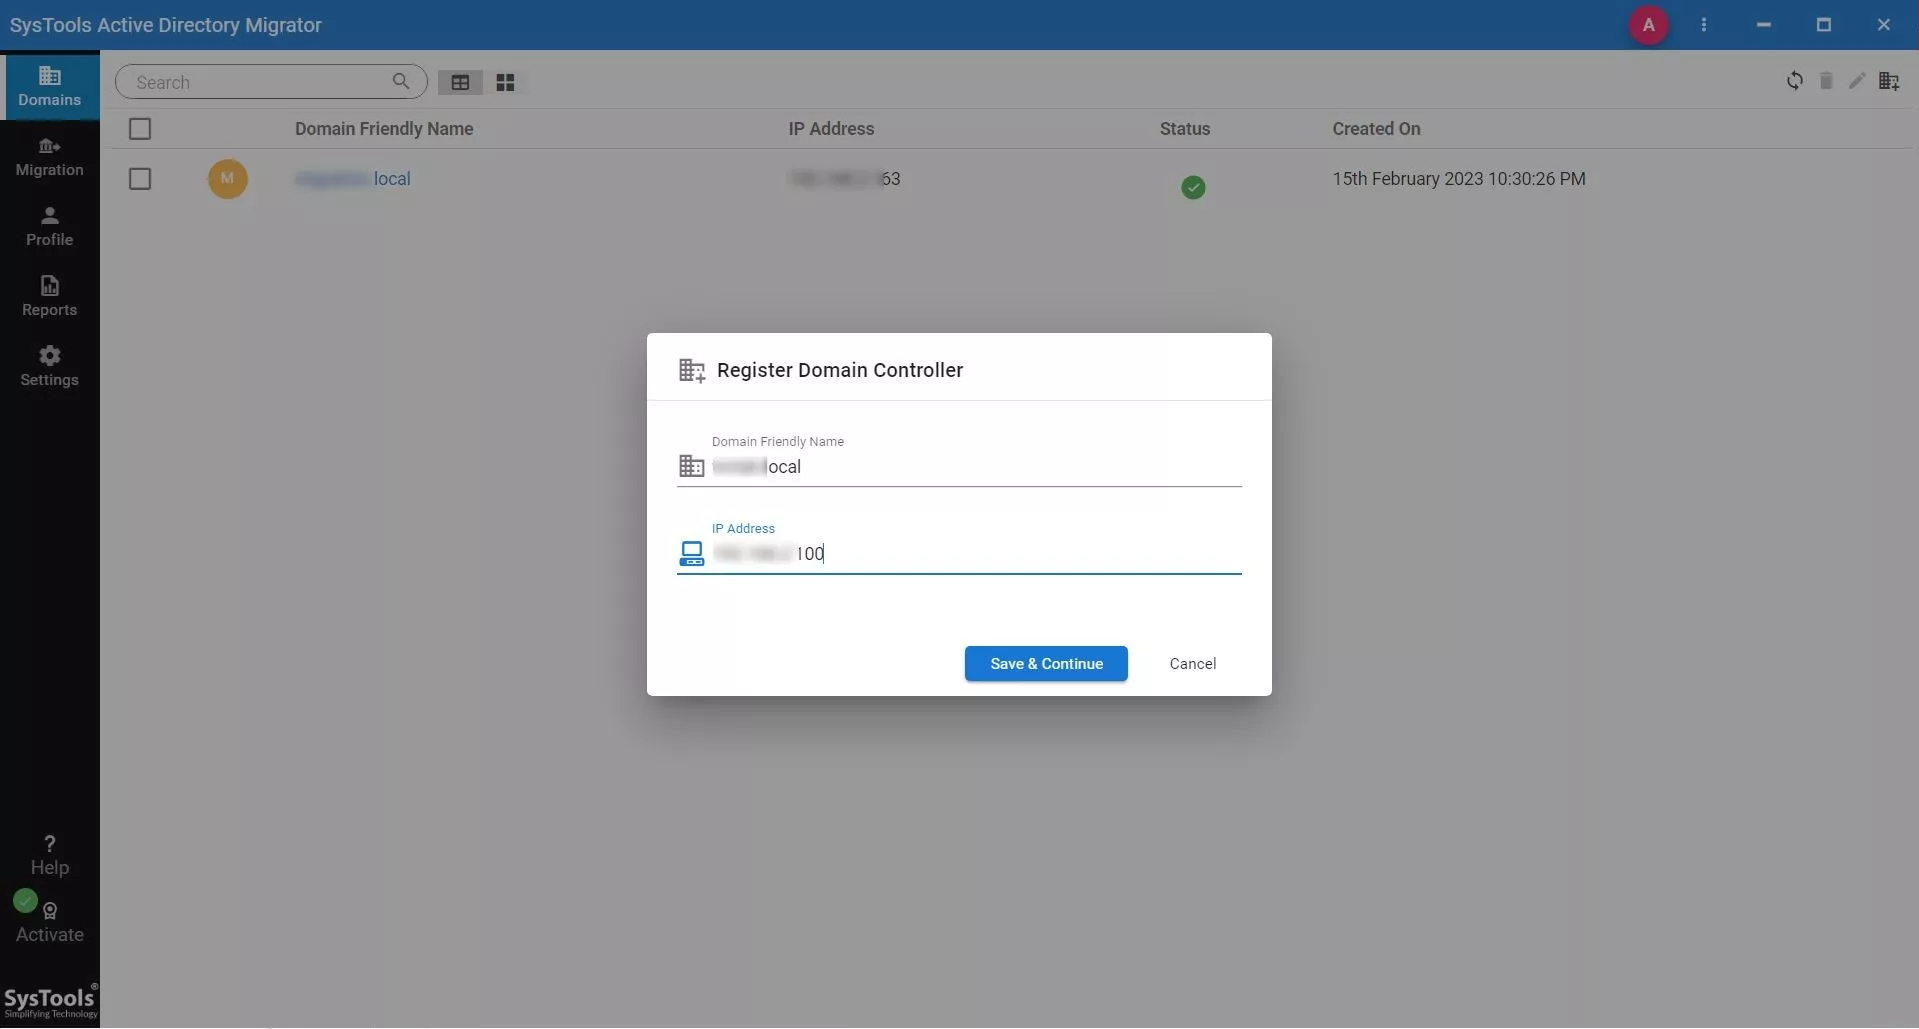
- Now, both domains’ Friendly Names are registered in the application.
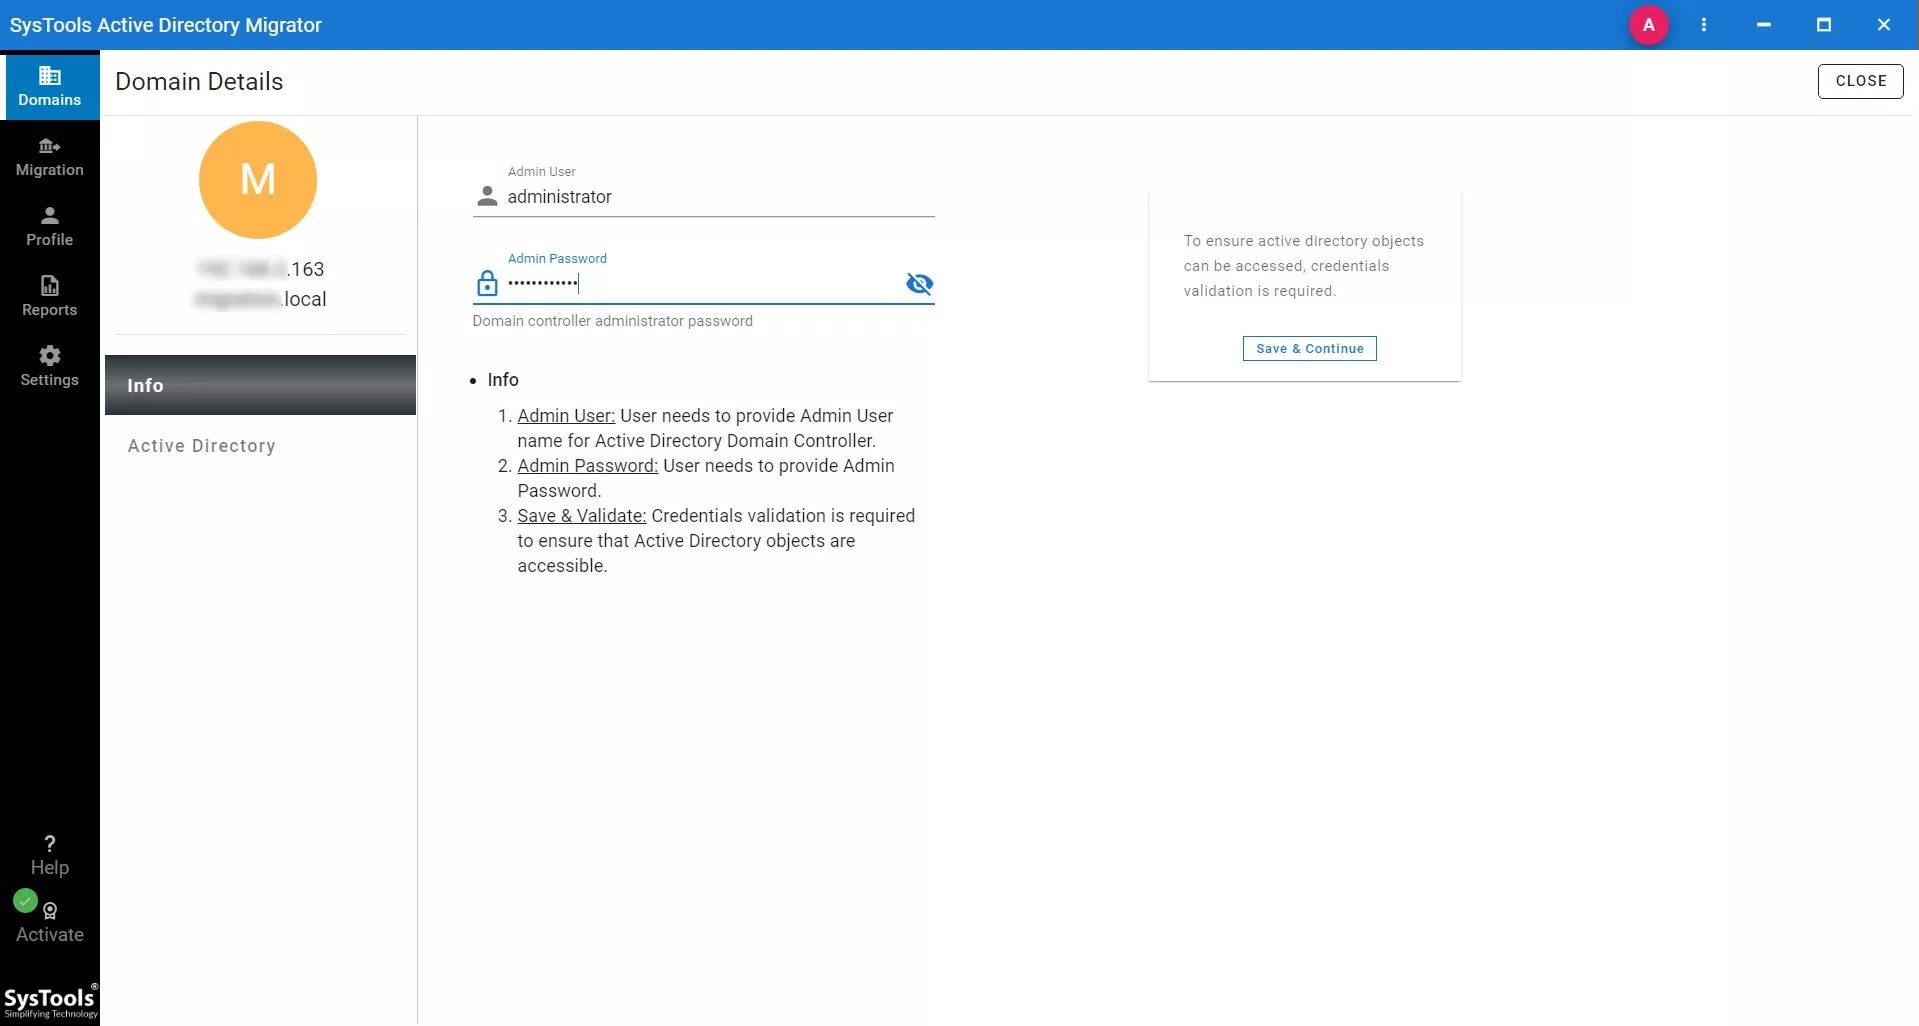
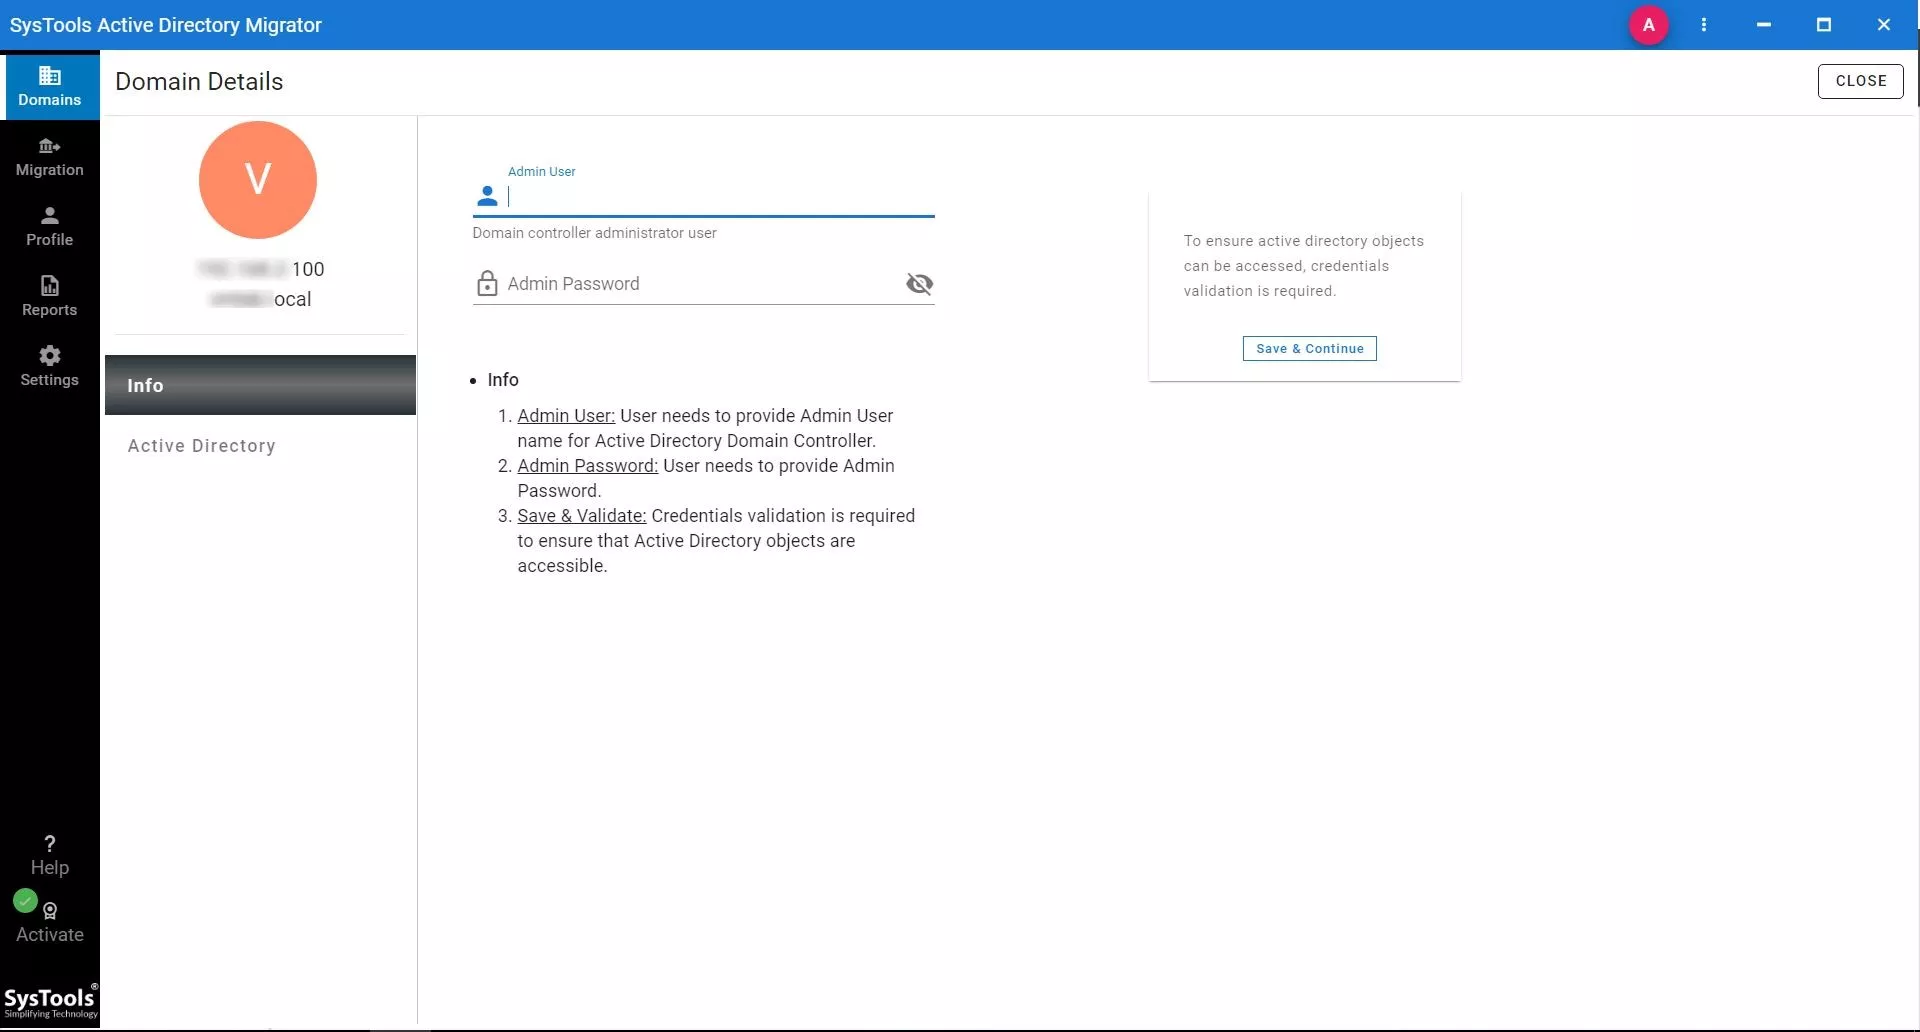
- Click on the First Domain and enter the credentials in the “Info” tab. Click “Save & Continue“.
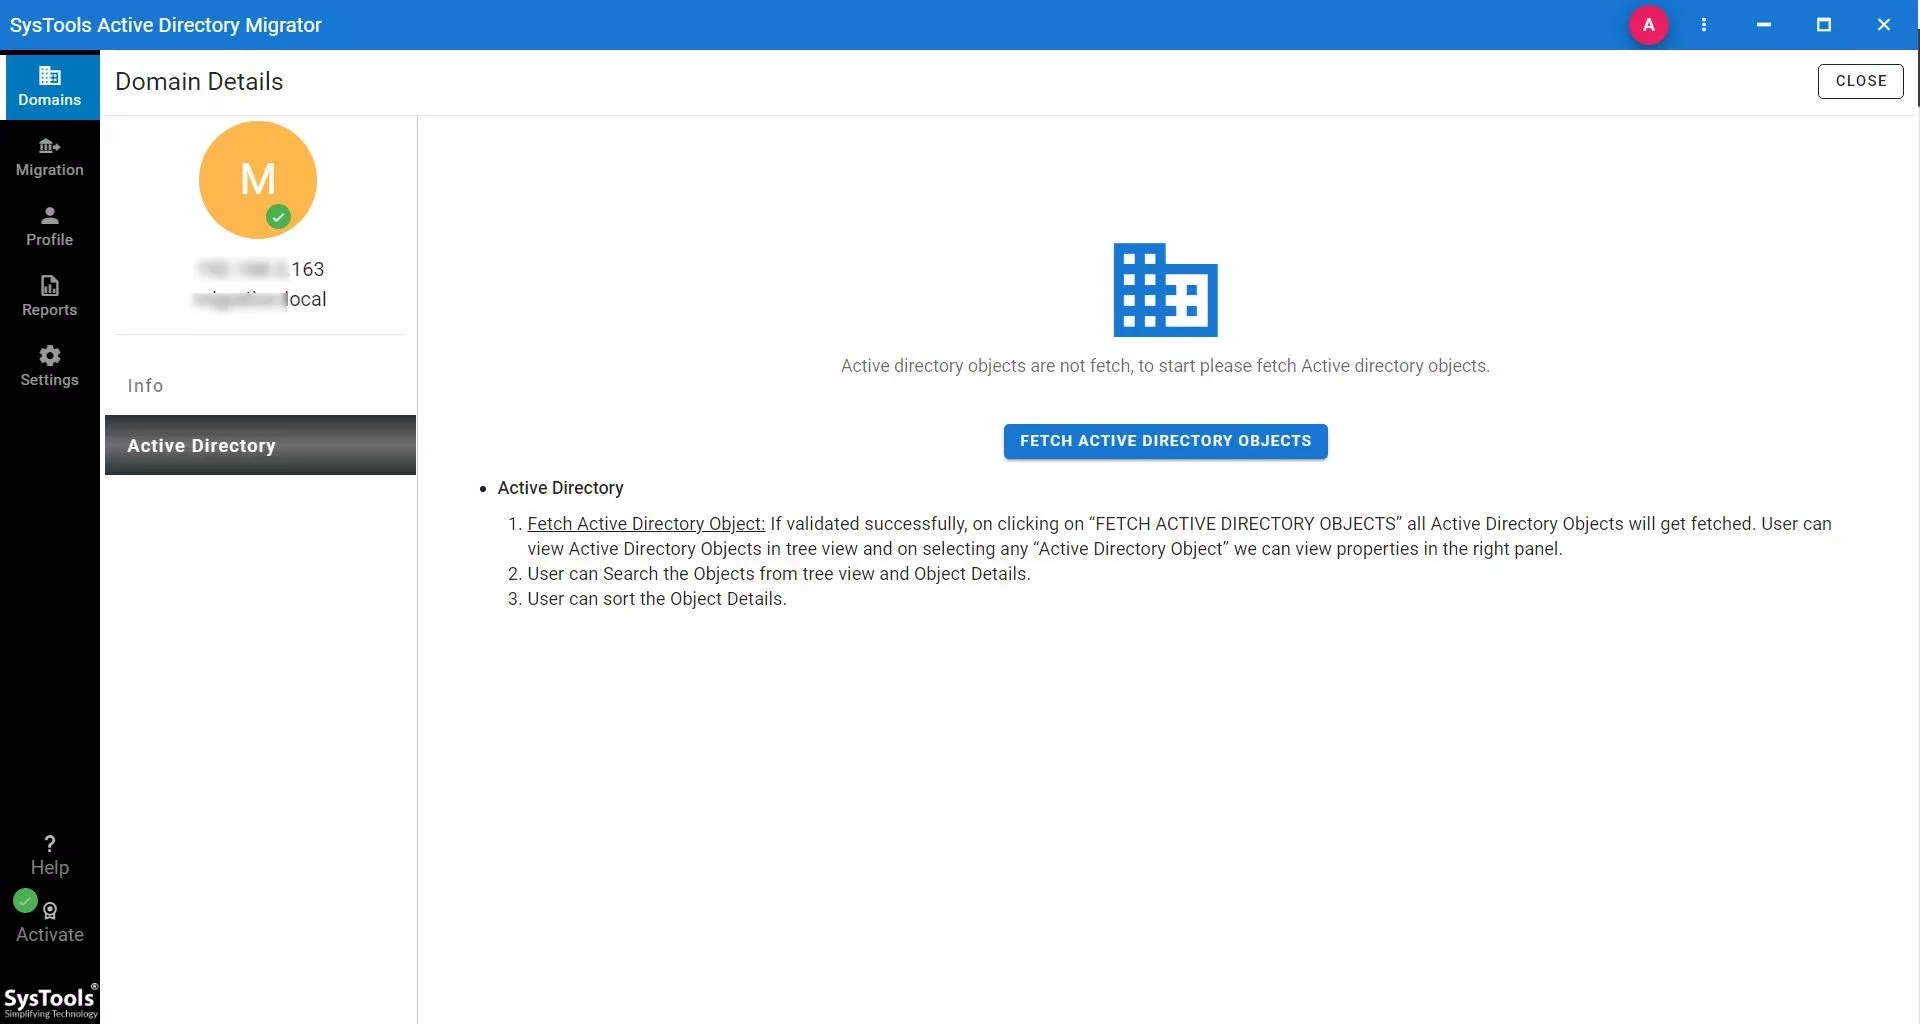
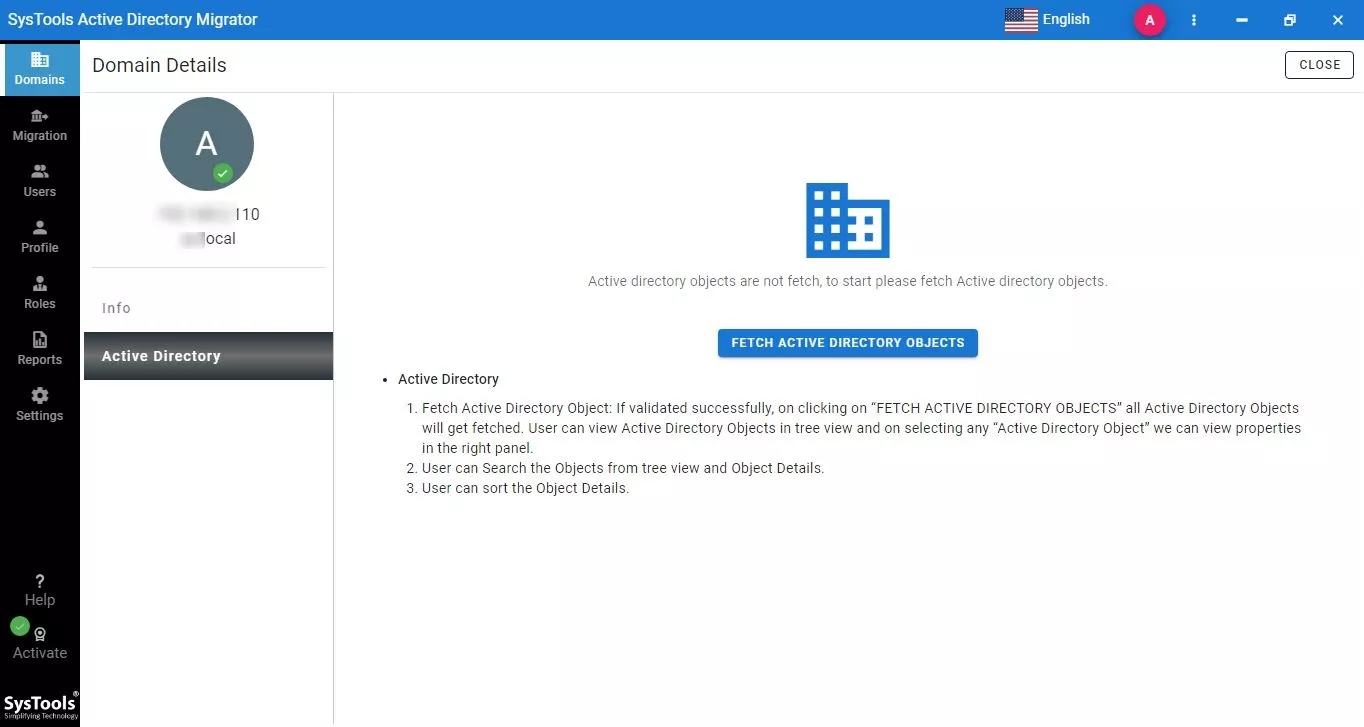
- Go to the Active Directory tab and click on “Fetch Active Directory Objects“.
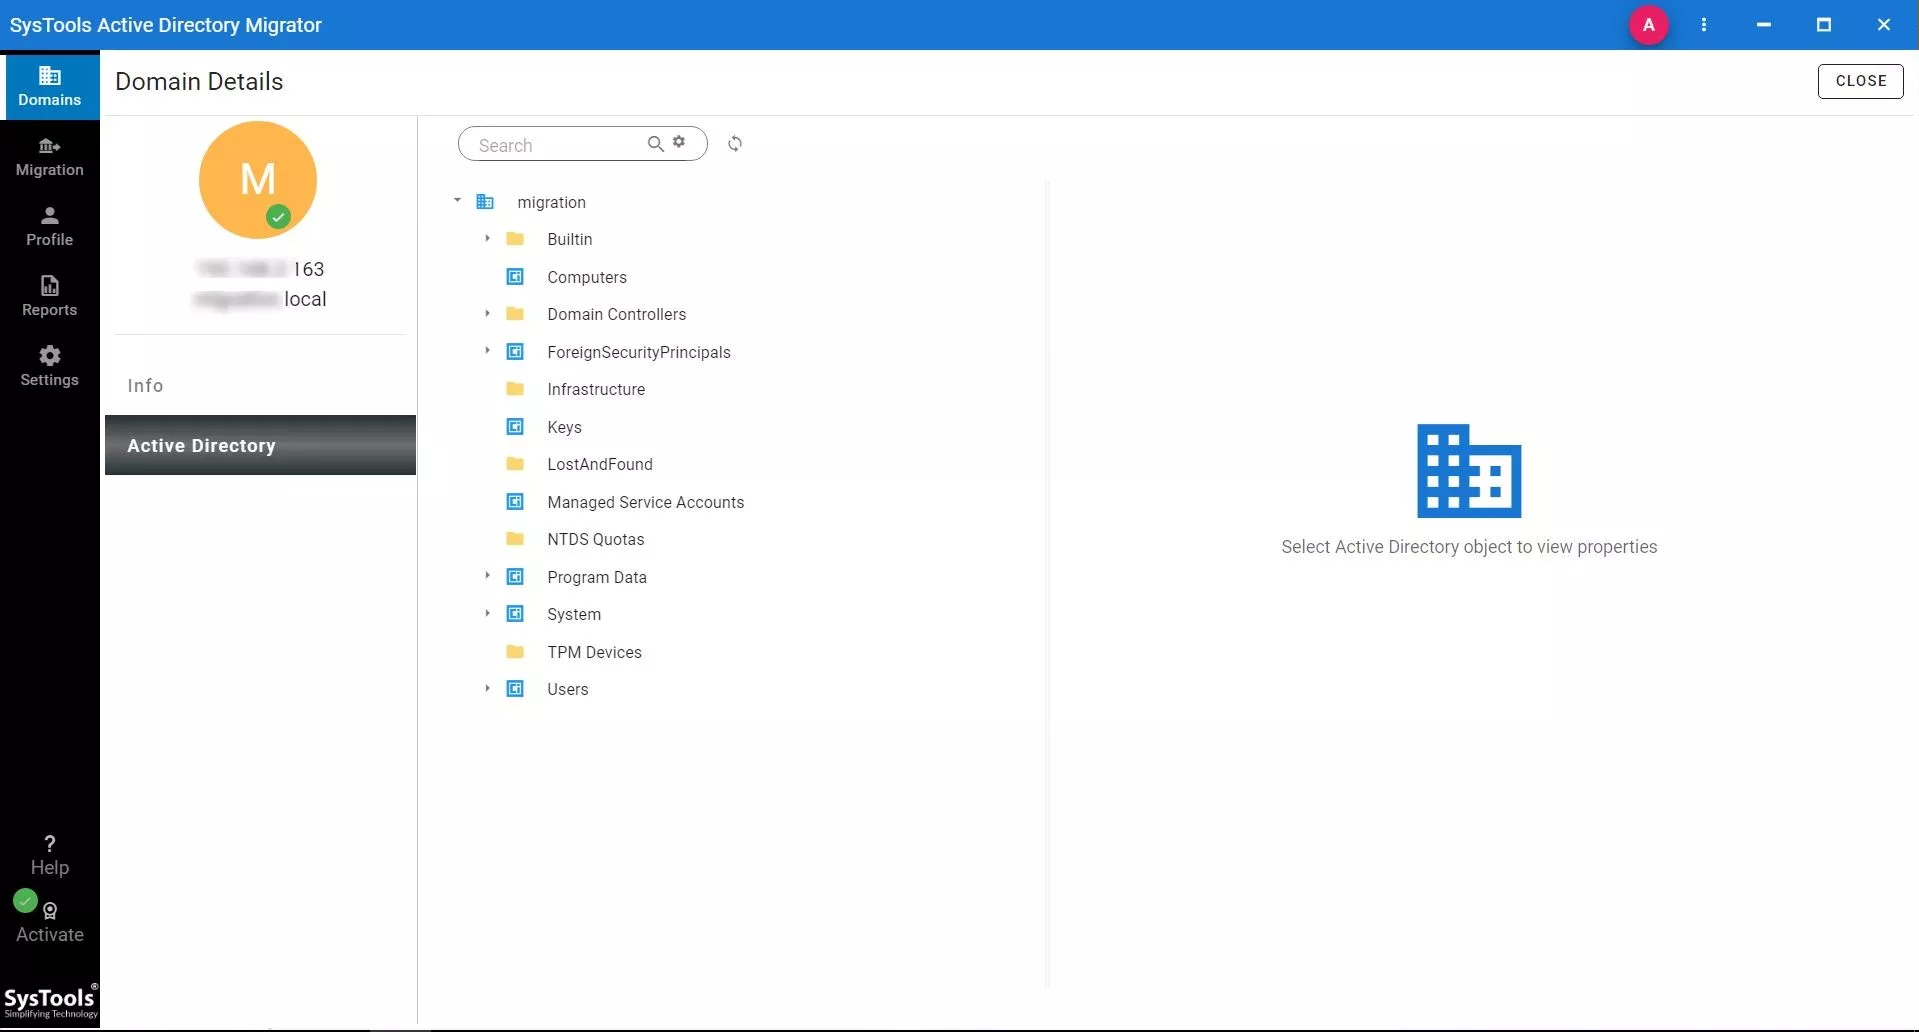
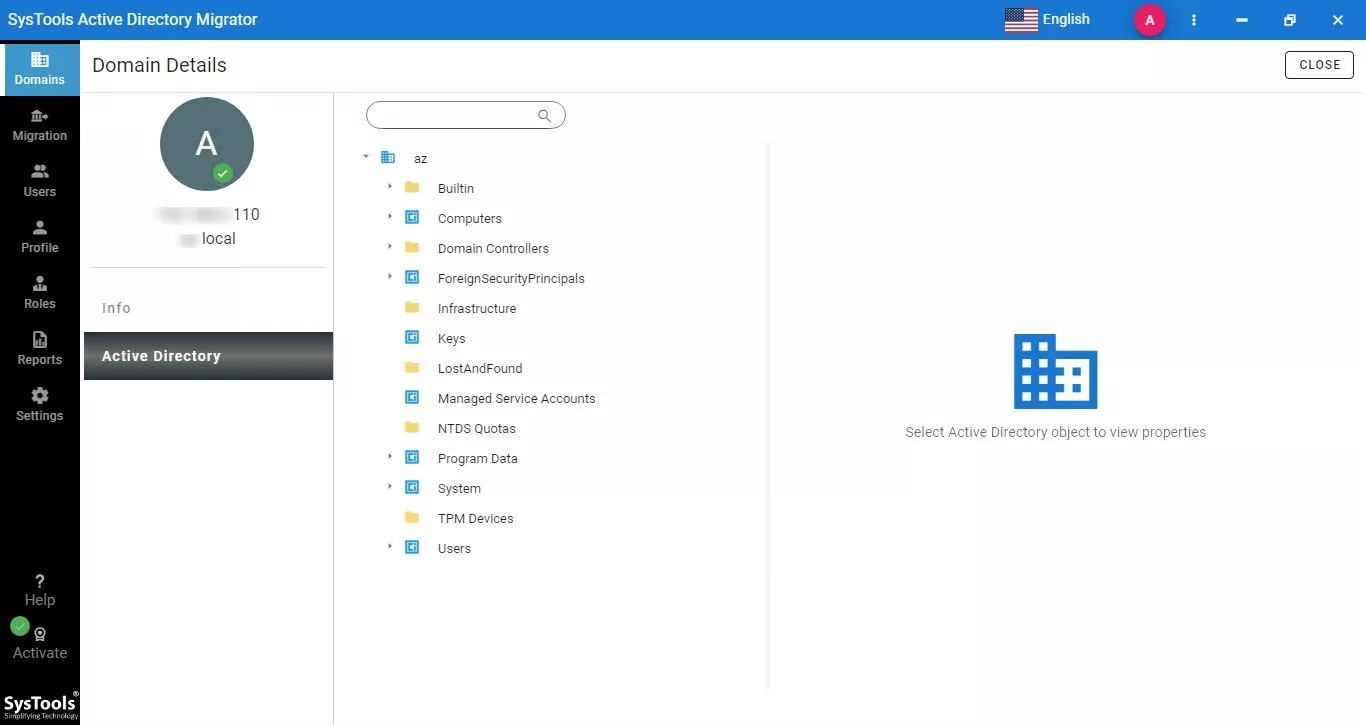
- After fetching the objects, you can view all the objects in that directory.
- After that, click on the Second Domain and enter credentials in the “Info” tab. Click “Save & Continue“.
- Go to the Active Directory tab and click on “Fetch Active Directory Objects“.
- After fetching the objects, you can view all the objects in that directory.
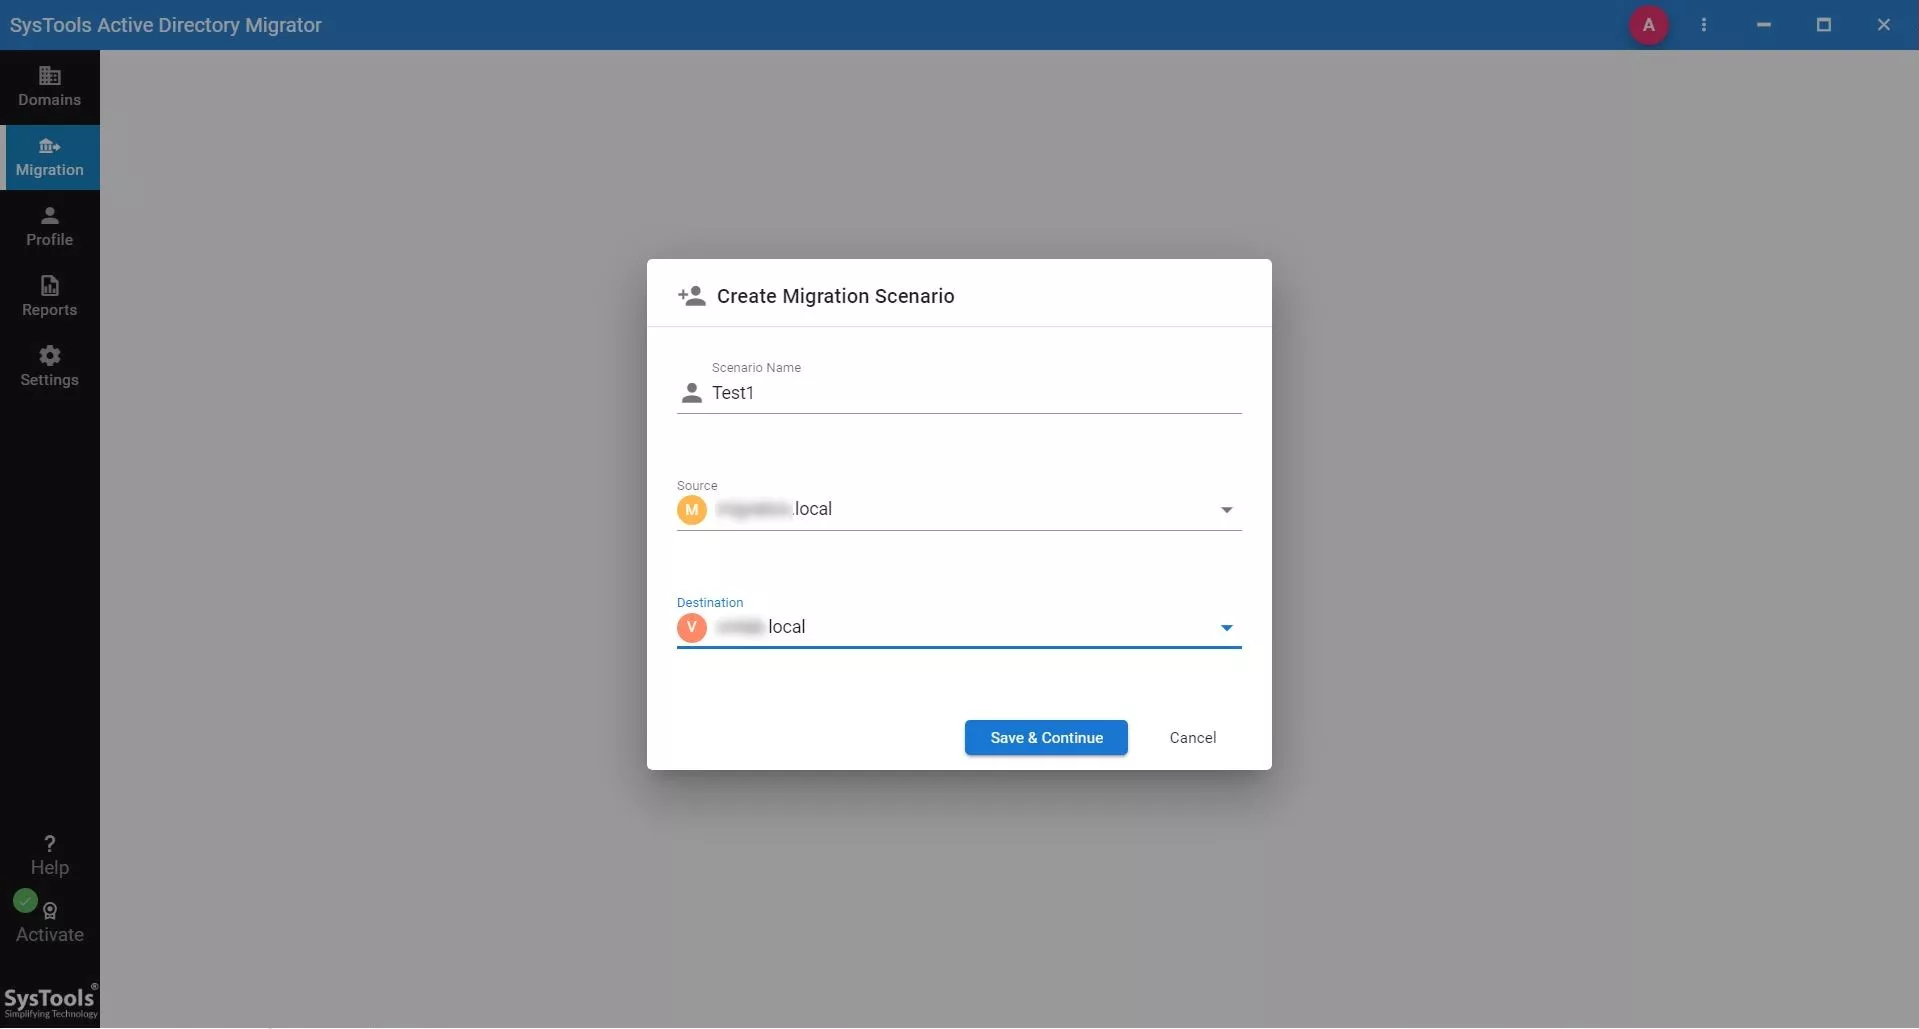
- After that, go to the Migration Section and “Create Migration Scenario“.
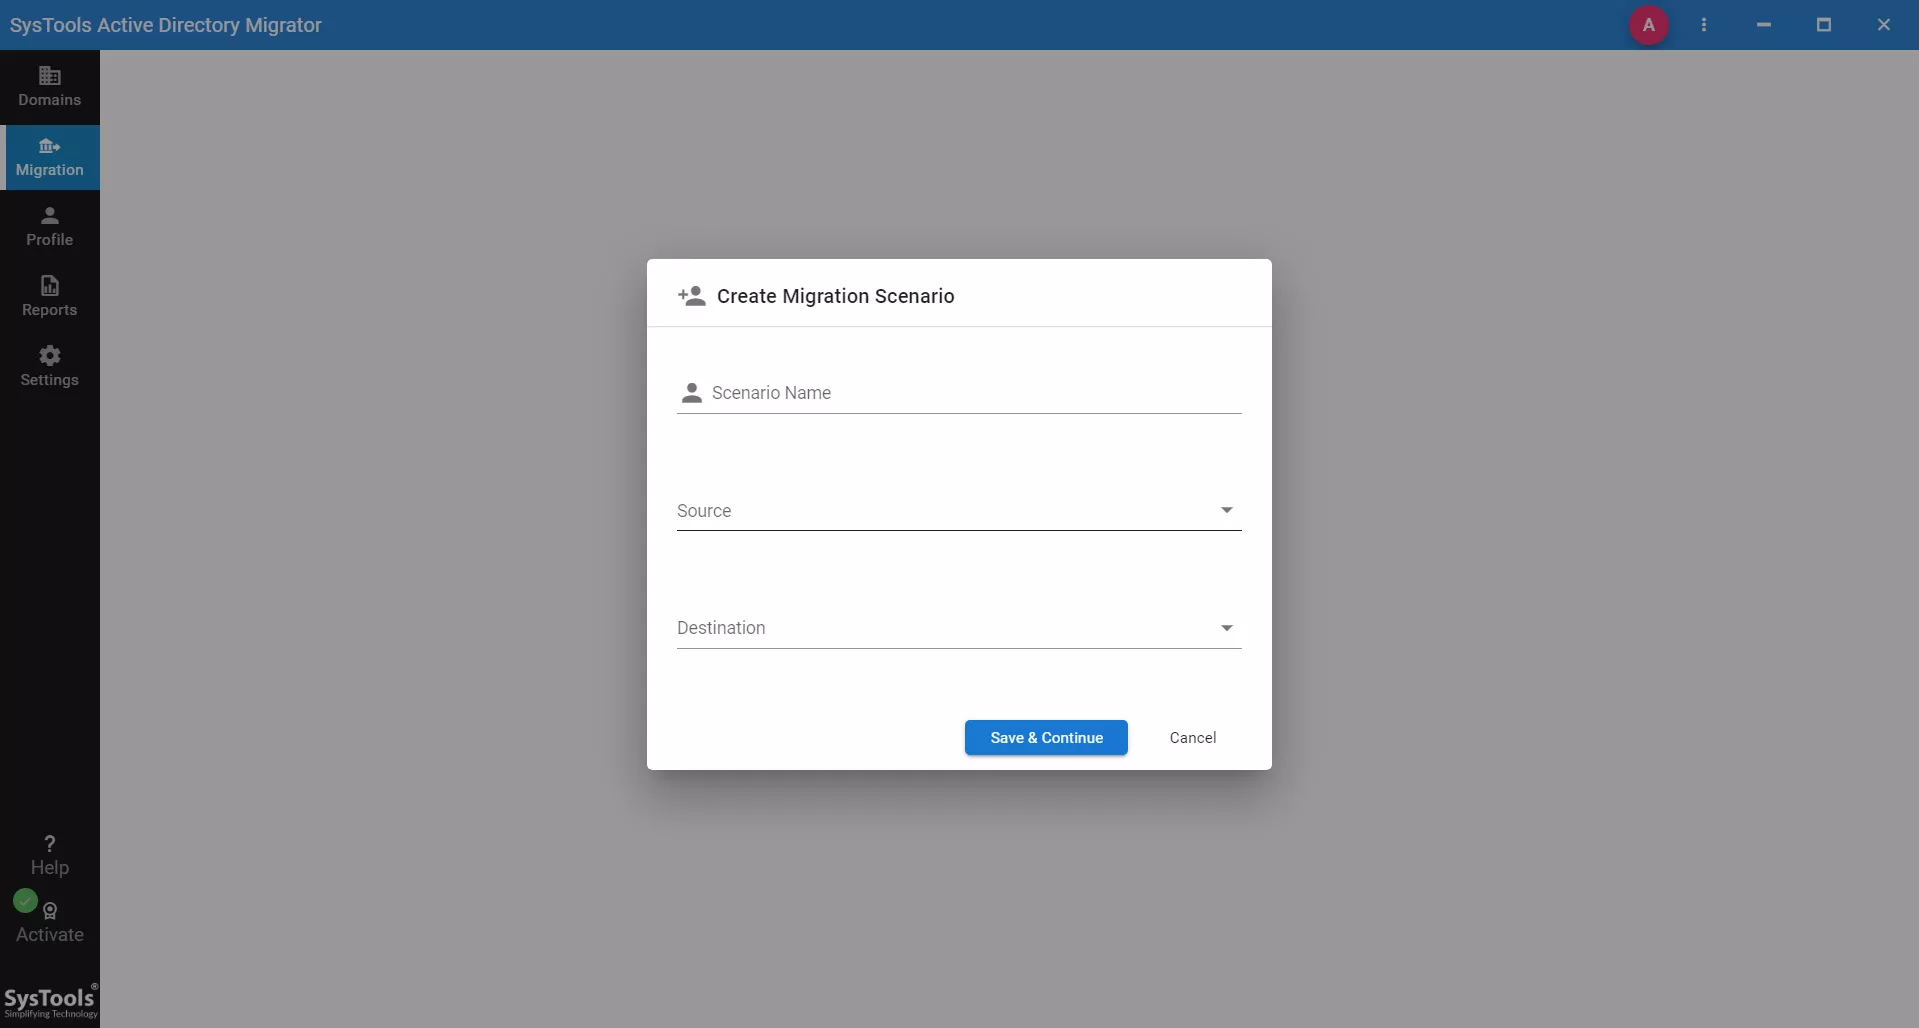
- Give your scenario a name and set the Source and Destination Domain.
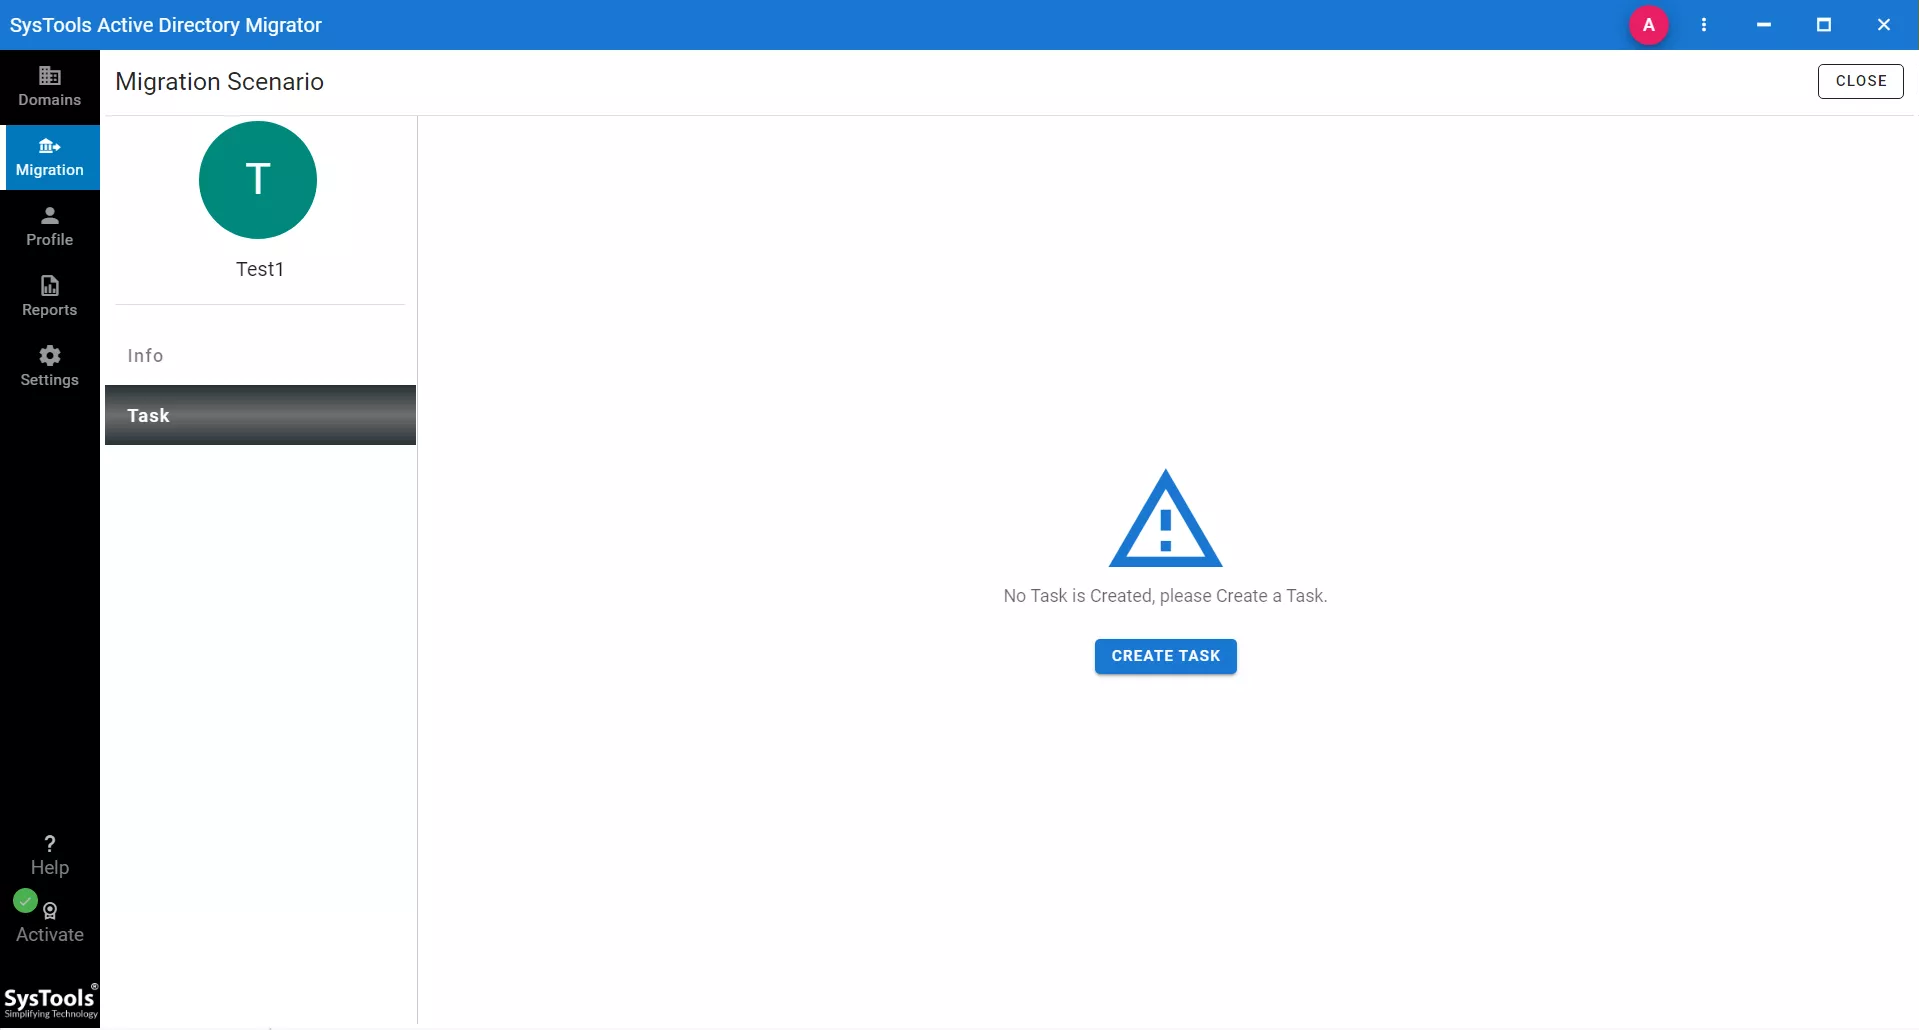
- Click on your Scenario Name to proceed and create a task. In the “Task” tab, click “Create Task“.
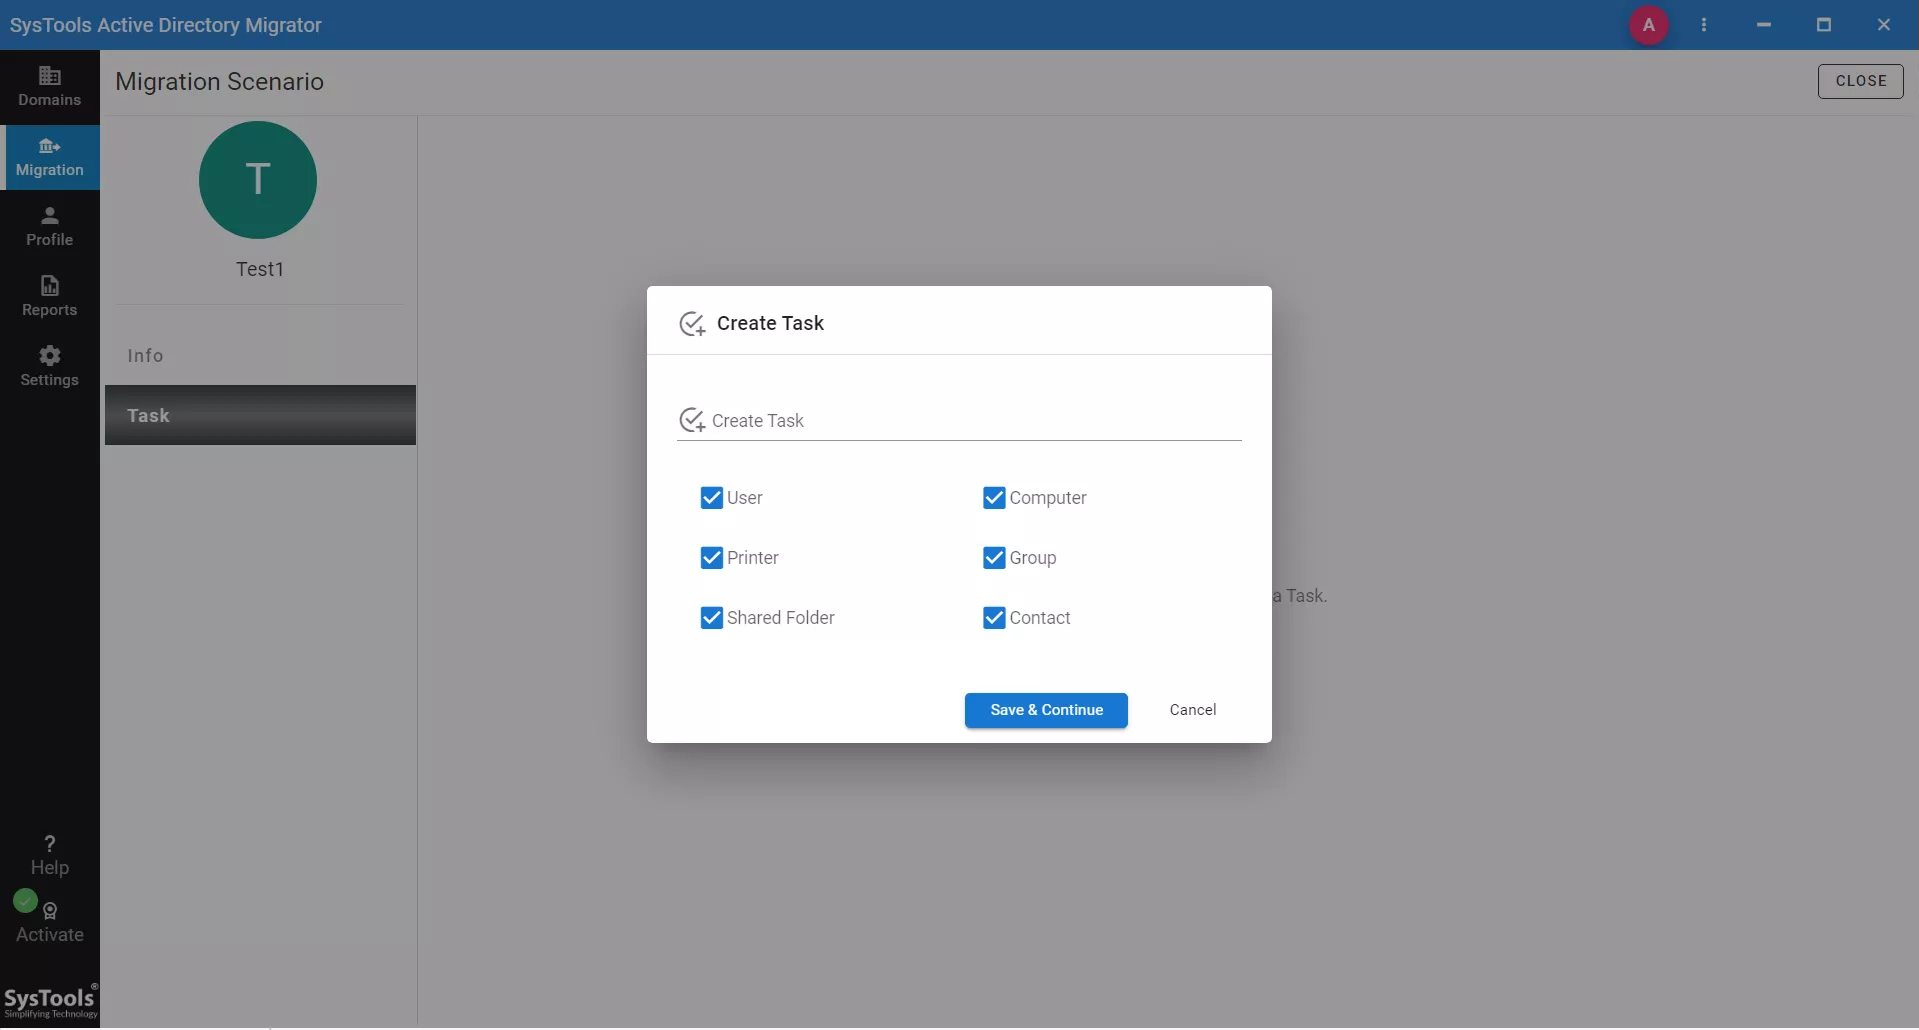
- Give your Task a Name and select “Computer” to migrate. Click “Save & Continue“.
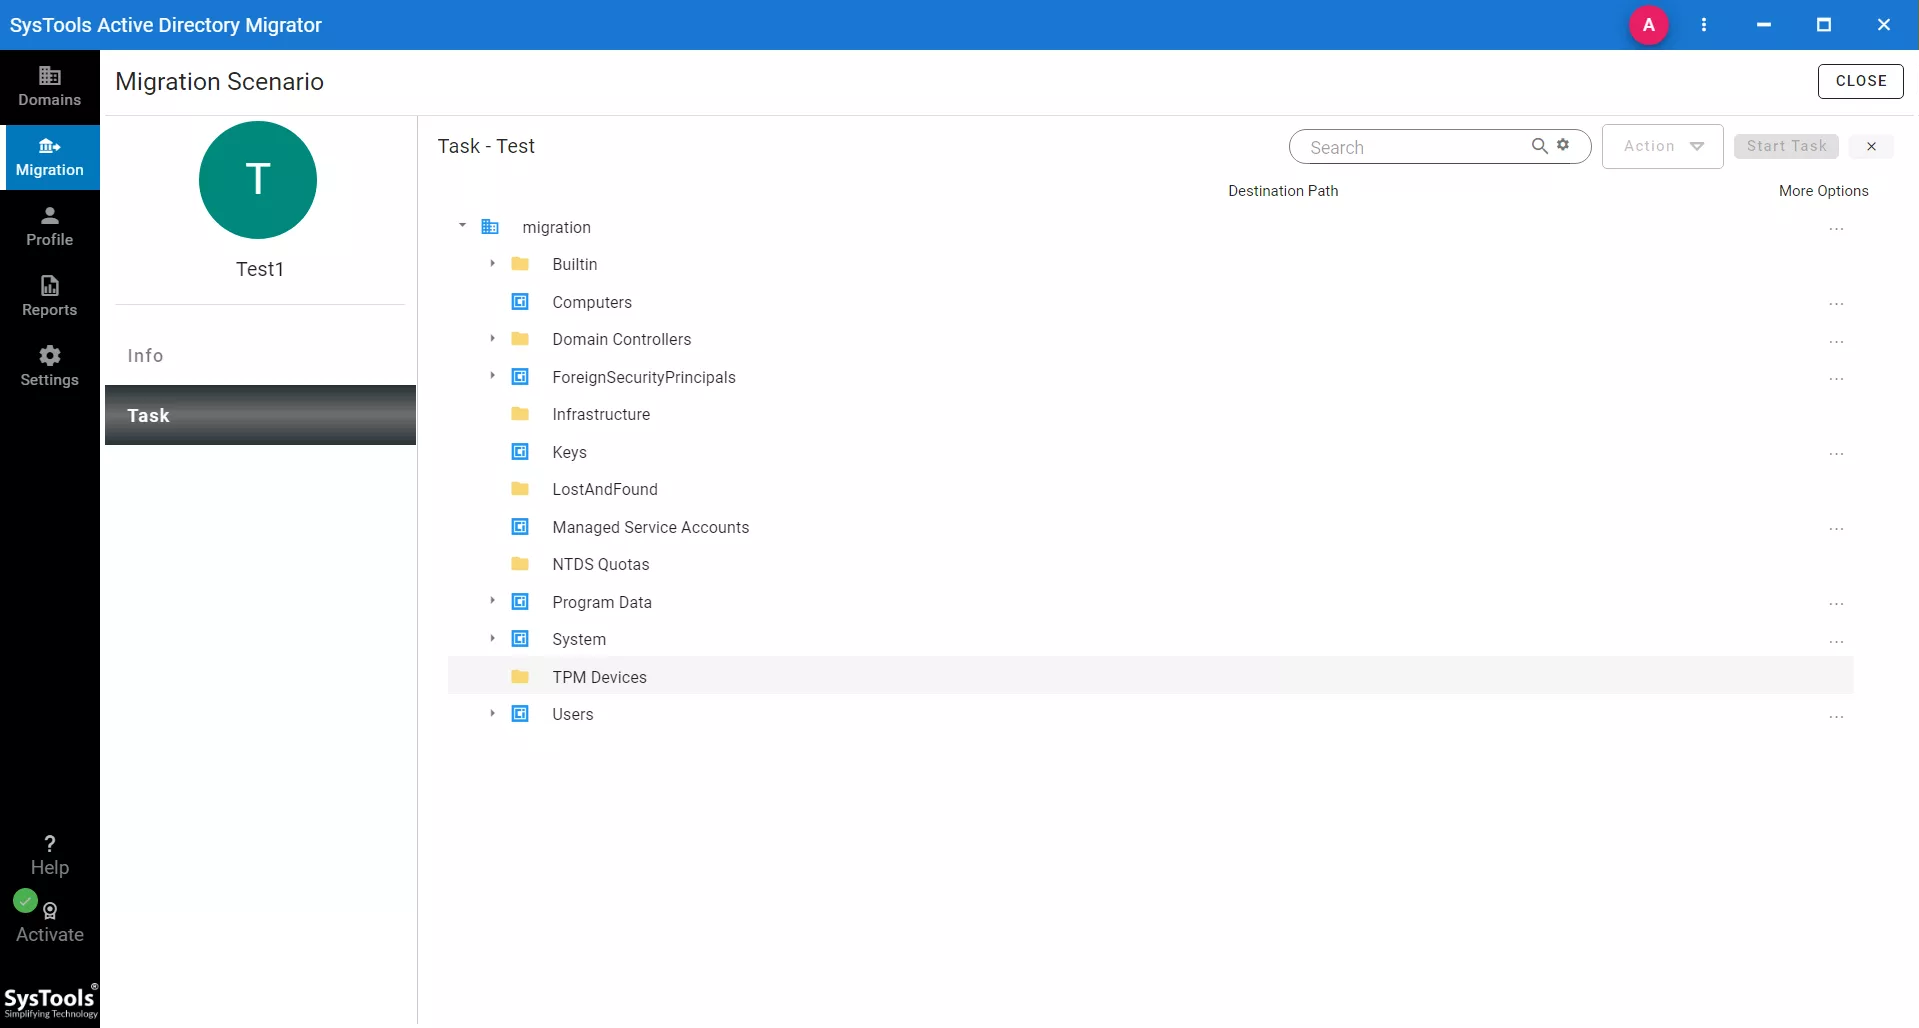
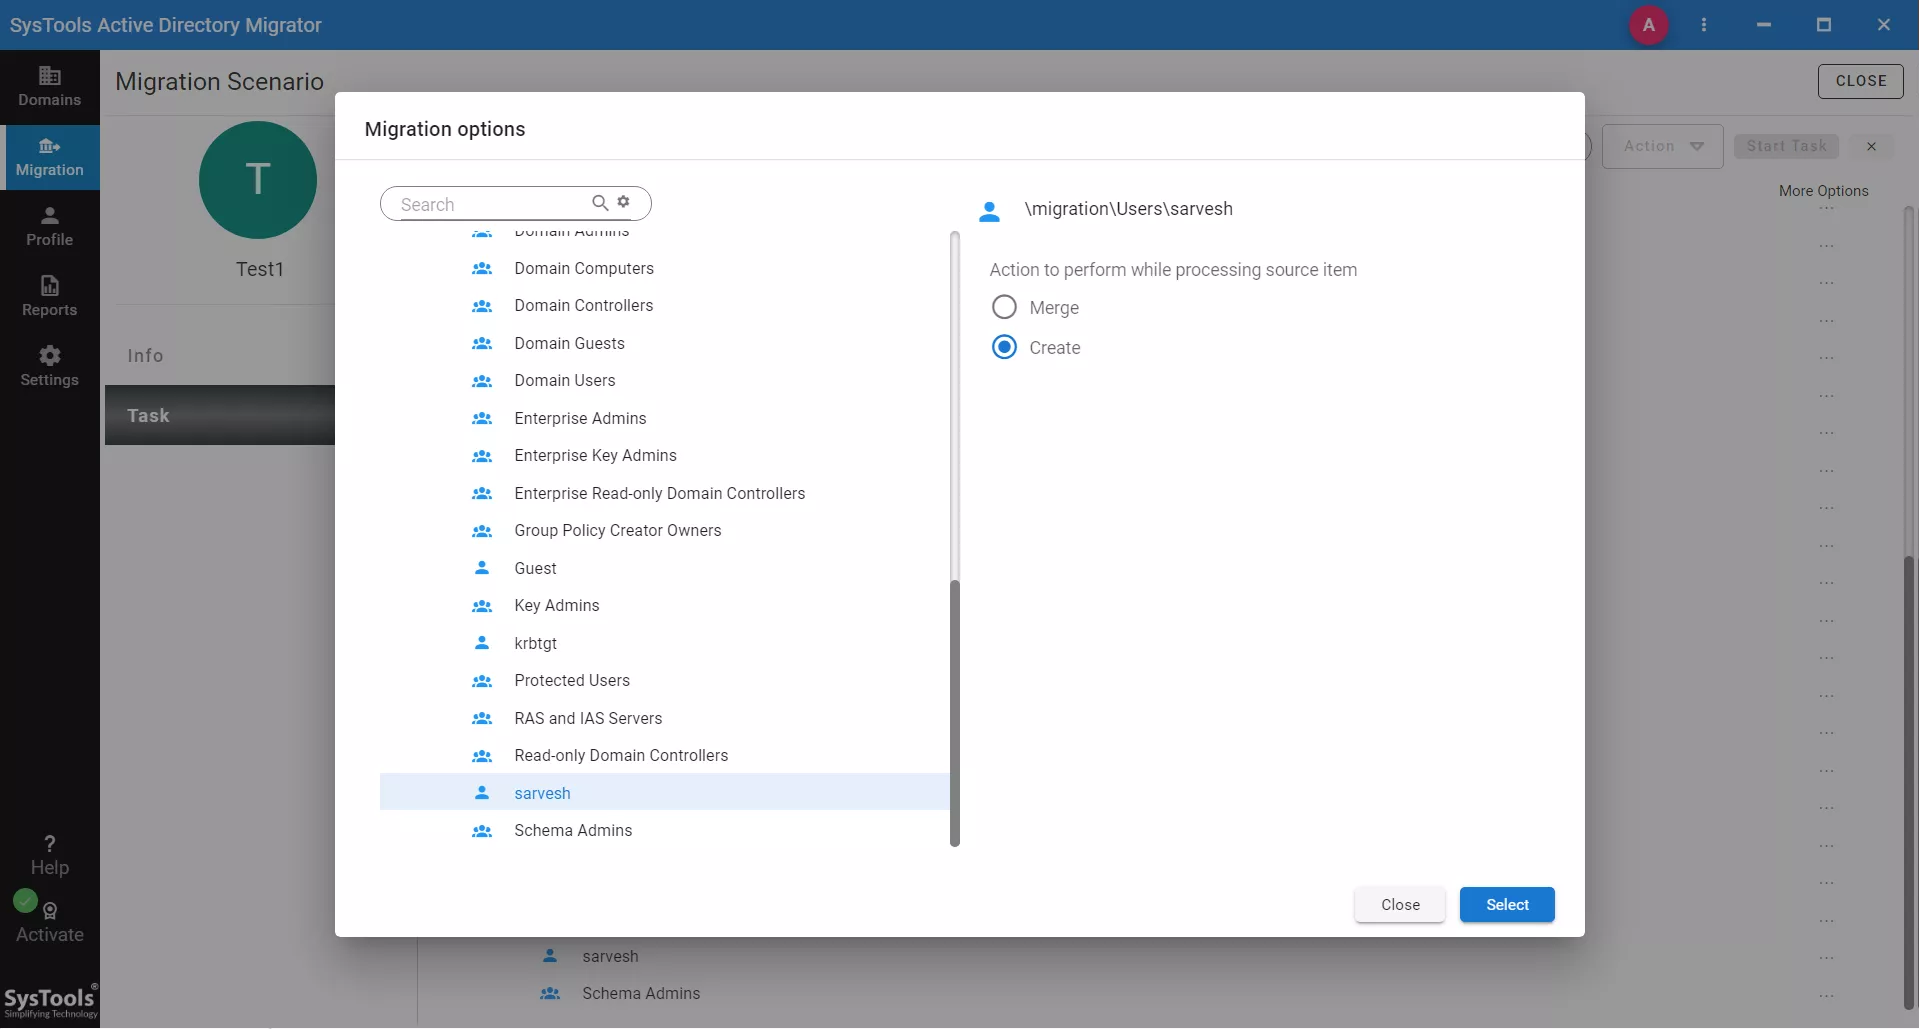
- On this screen, you will see all the selected objects present in the source domain. Click on the Three Dots in front of “computer” to map it to the destination.
- After selecting the object, choose whether to Merge the data or Create a new object. Click “Select“.
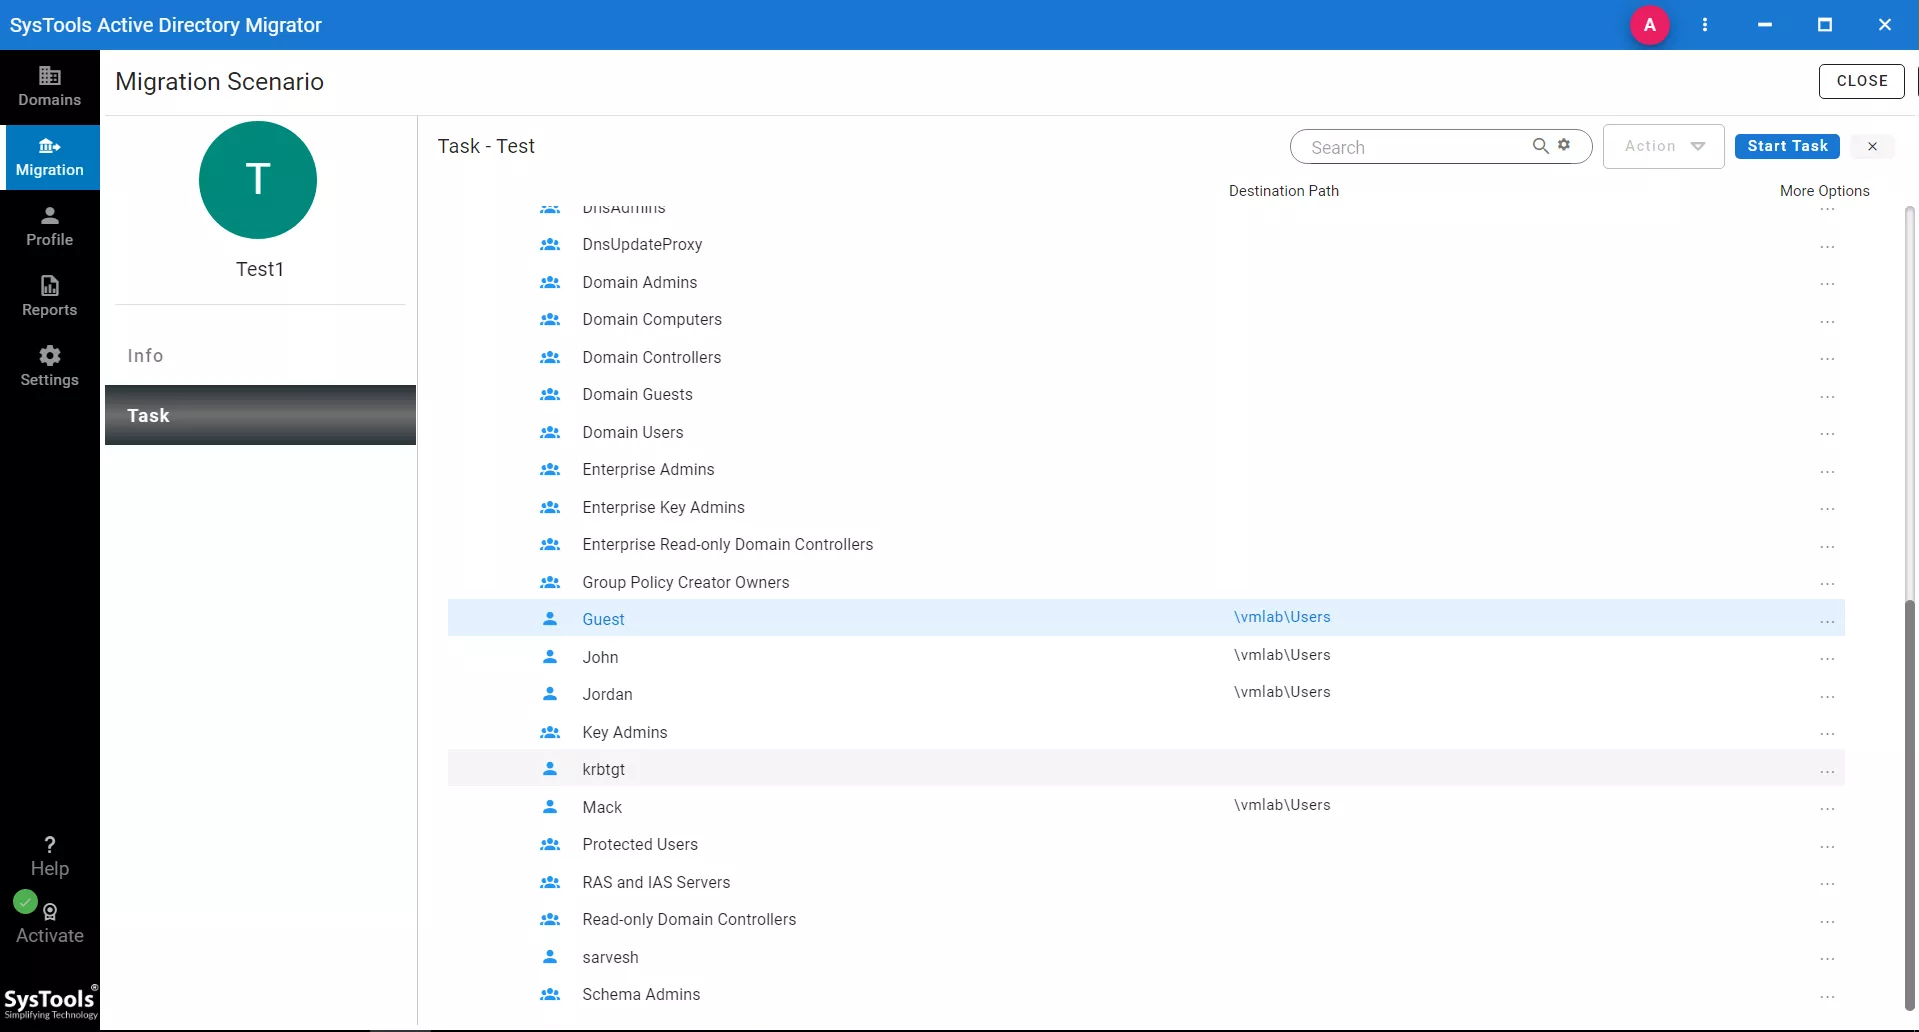
- Now you can see that the computers are mapped with the destination AD domain.
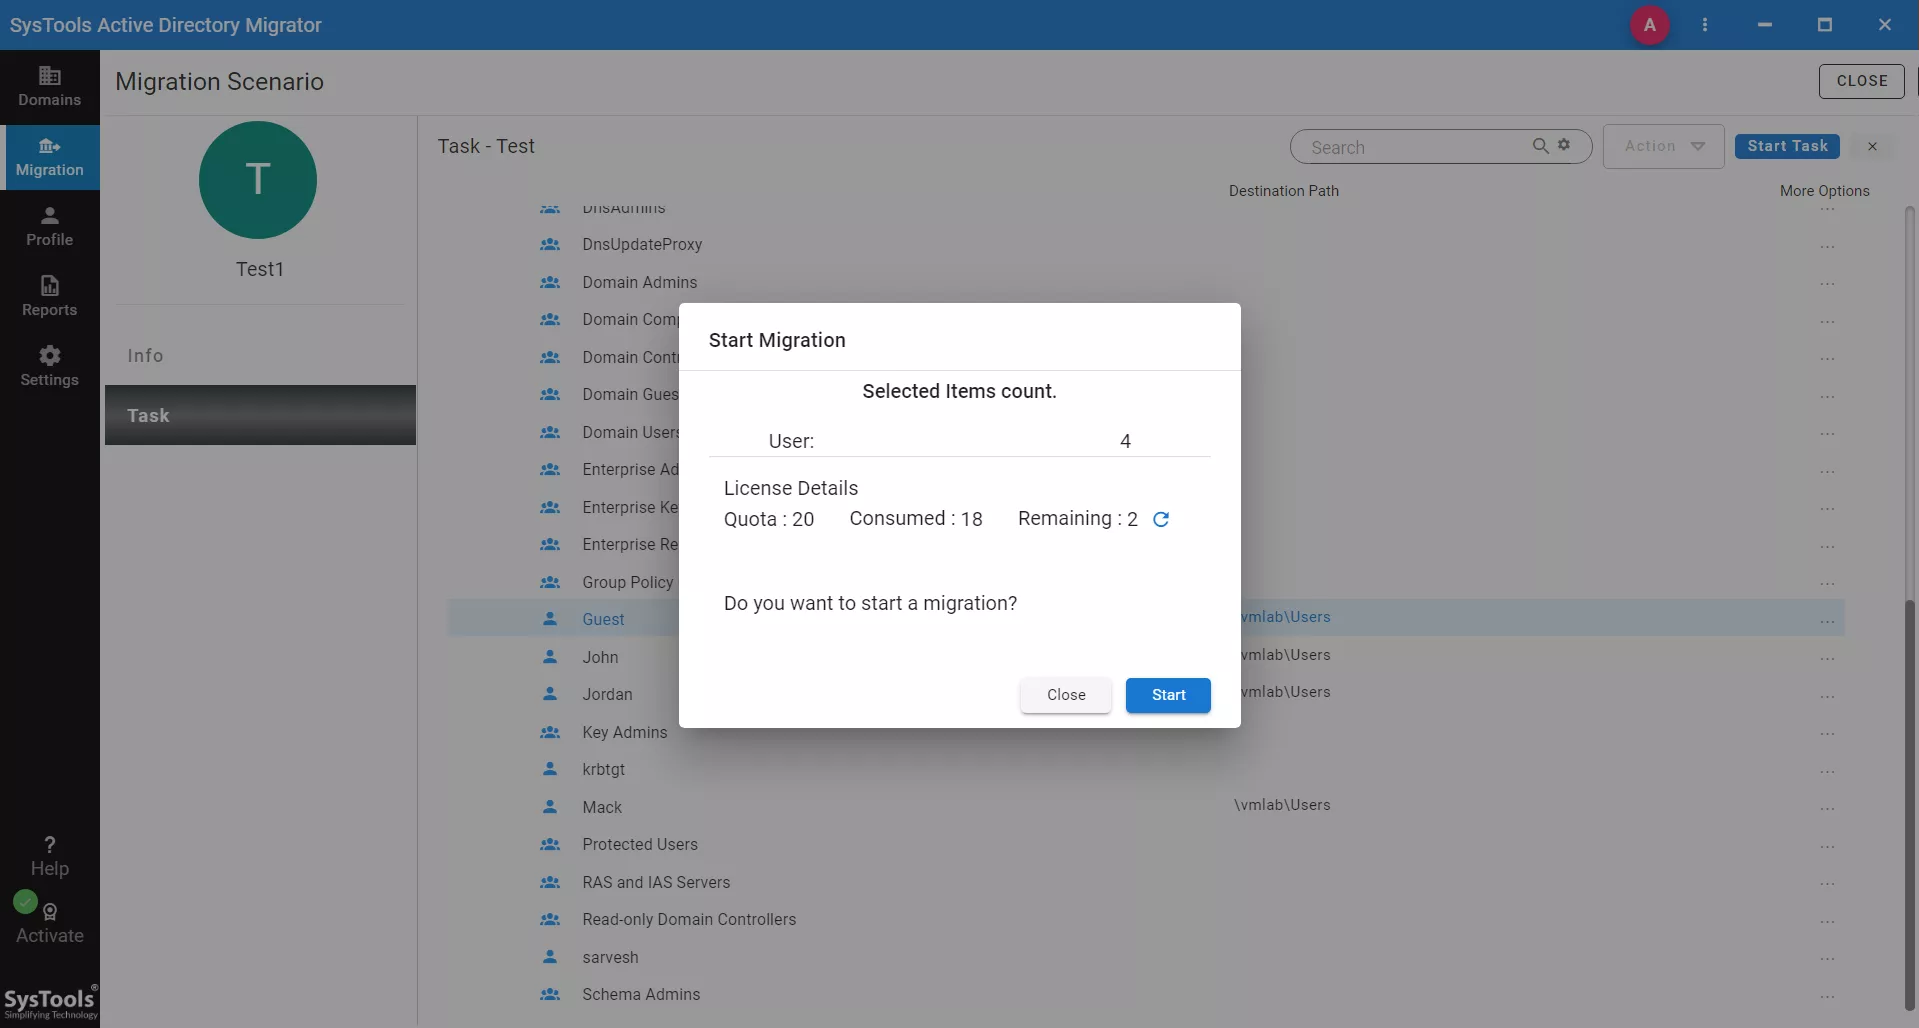
- Click “Start” at the top to begin the migration task and also on the prompt screen.
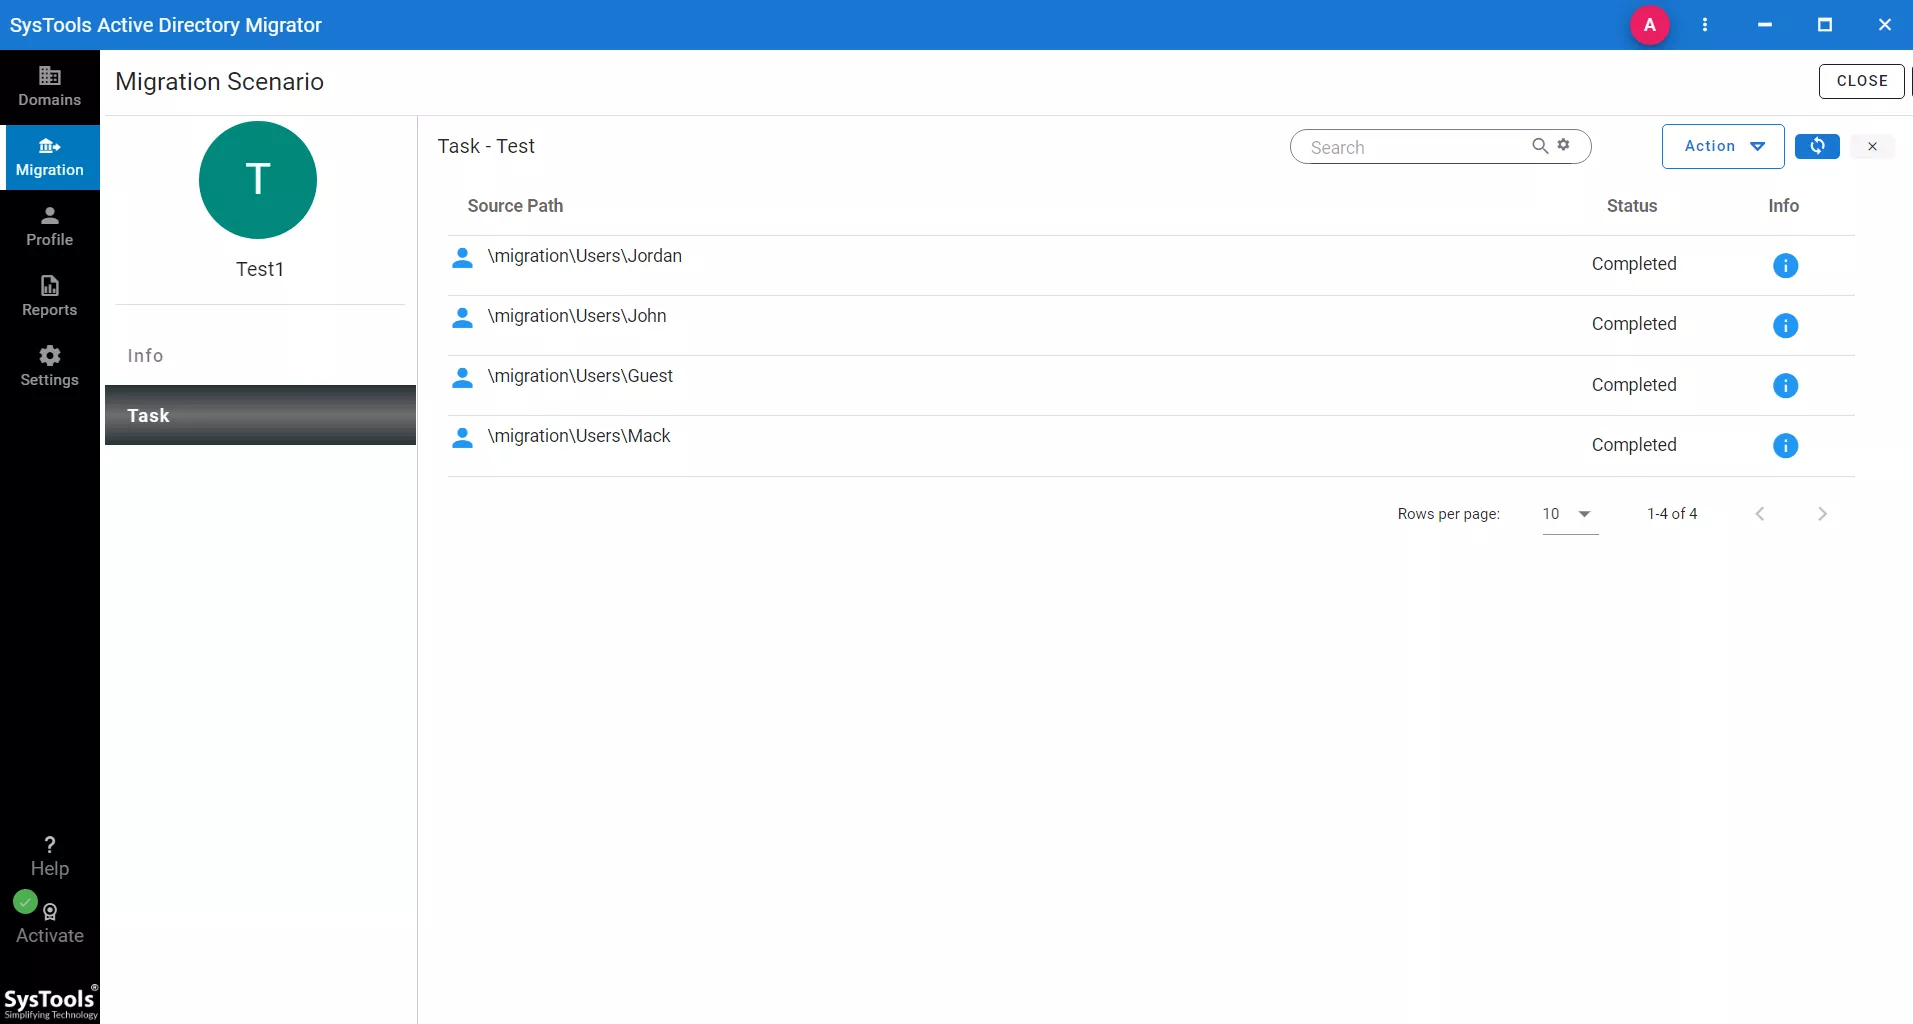
- Finally, you will see that the migration is complete.
Conclusion
In conclusion, migrating computers from one domain to another is a critical aspect of Active Directory (AD) migration projects. By using PowerShell and a dedicated professional tool, you can easily accomplish this task. With these two approaches, IT administrators can streamline the migration process.
